#043 — Kinetic Wind Sculpture
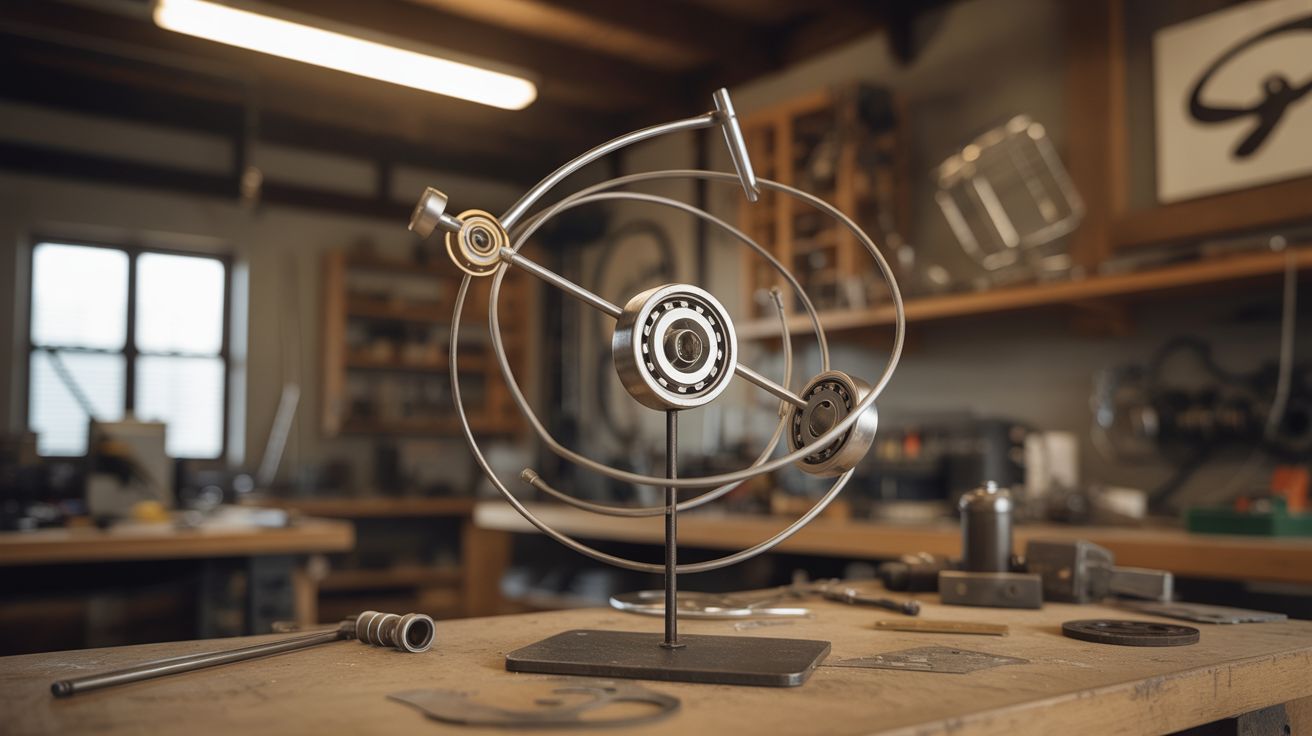
Scrap metal, salvaged bearings, and balanced arms spin and sway in the wind. Art that moves itself, powered by nothing but air.
Ratings
🧪 What Is It?
A kinetic wind sculpture is a balanced mechanical structure that moves in response to wind. Arms pivot on low-friction bearings, catching the breeze and translating it into smooth, mesmerizing rotation. The best ones look like they defy gravity — long arms with counterweights that seem too delicate to exist, spinning and orbiting each other in complex patterns that never quite repeat.
Anthony Howe's massive kinetic sculptures sell for hundreds of thousands of dollars. The principles are identical at any scale: balance, low friction, and surfaces that catch the wind. Scrap metal provides the structure. Bearings from dead appliances (hard drives, fans, washing machines, skateboard wheels) provide the pivots. Sheet metal or repurposed panels provide the wind-catching surfaces. The design is where the art lives — the engineering just makes it possible.
🧰 Ingredients
- Steel rod or tubing — various diameters, for arms and central shaft (scrap metal, hardware store)
- Ball bearings — sealed bearings from dead appliances: hard drives, fans, motors, skateboard wheels (e-waste, skate shop)
- Sheet metal — for wind-catching paddles and fins (old appliances, HVAC duct, hardware store)
- Counterweights — bolts, nuts, washers, small weights (hardware store, junk drawer)
- Central mount — pipe flange or bearing housing for the main pivot (hardware store)
- Welder — MIG or TIG for clean joints (workshop)
- Angle grinder — for cutting and shaping (workshop)
- Balancing setup — a knife edge or bearing mount for checking balance (workshop)
- Rust-resistant finish — clear coat, galvanizing spray, or powder coat (hardware store)
🔨 Build Steps
- Design the geometry. Sketch your sculpture on paper. Start simple — a single arm balanced on a central pivot, with a wind-catching paddle on one end and a counterweight on the other. More complex designs use multiple arms nested on each other, each spinning independently. The rule: every arm must be balanced around its pivot point.
- Select and test bearings. Spin each salvaged bearing by hand. You want bearings with minimal friction — a flick should produce 5+ seconds of free spin. Hard drive bearings and skateboard bearings are excellent. Washing machine bearings are larger but sometimes rougher. Clean and re-grease any sticky bearings.
- Cut the arms. Cut steel rod or tubing to length for each arm. Lighter is better — the sculpture needs to respond to gentle breezes. Thin-wall tubing (1/2"-3/4" diameter) provides strength without excess weight. Deburr all cuts.
- Build the paddles. Cut wind-catching shapes from sheet metal. Curved surfaces (concave on one side) catch more wind than flat panels. The paddle doesn't need to be large — even a 4"x6" curved panel catches enough wind to move a balanced arm. Sand all edges smooth.
- Assemble and balance each arm. Weld the paddle to one end of an arm and a counterweight to the other. Mount the bearing at the pivot point. Set the arm on a knife edge at the bearing location and adjust the counterweight until the arm balances perfectly level. A balanced arm responds to the slightest breeze.
- Build the central mount. The main shaft needs to spin freely on a bearing at the base. A pipe flange bolted to a post or stake provides the base mount. The main bearing sits at the top, with the sculpture's primary arm mounted above it.
- Stack multiple arms (optional). For compound sculptures, mount secondary arms on bearings attached to the primary arm. Each sub-arm must be independently balanced. The primary arm now needs to be rebalanced with the sub-arms attached.
- Apply finish. Bare steel rusts. Apply a clear coat, galvanizing spray, or powder coat to all surfaces. Pay special attention to joints and welds. For an intentional rust aesthetic, apply rust patina to the surfaces but still grease the bearings.
- Install outdoors. Mount the sculpture on a post, fence, or ground stake in an area with consistent wind exposure. Elevated positions catch more wind. Watch it in different wind conditions and adjust paddle angles if needed.
⚠️ Safety Notes
- Spinning metal arms have momentum. In strong winds, a large sculpture can whip its arms fast enough to cause injury. Size the paddles appropriately for your location — too large in a windy area means dangerous speeds. Position the sculpture where people can't walk into the arc of the spinning arms.
- Welded joints are stress points. Fatigue failure from constant wind loading can cause an arm to break off and become a projectile. Inspect welds periodically. Over-engineer the joints rather than under-engineer them.
- Sharp sheet metal edges cut easily. Sand or file all edges smooth during construction. Wear gloves when handling raw sheet metal.