#162 — Electrochemical Etching
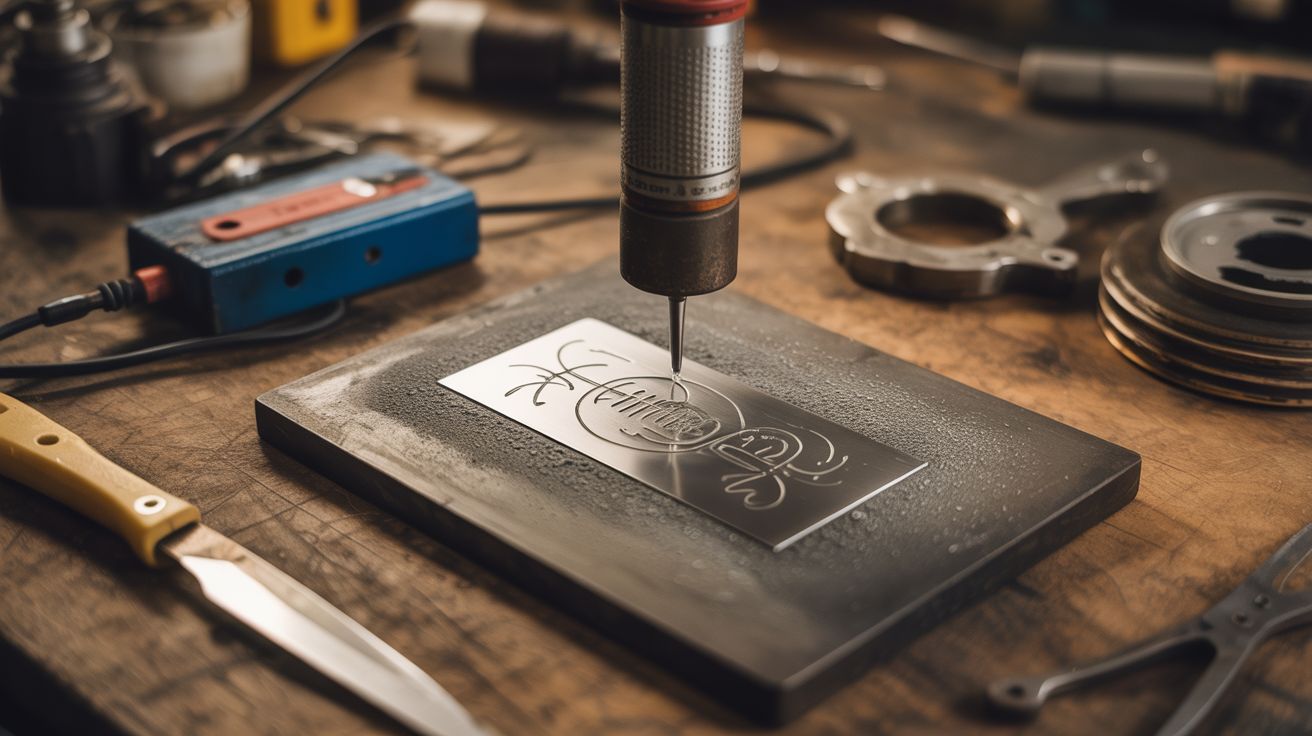
Salt water, a battery, and a stencil — etch permanent designs into any metal surface. Knives, tools, jewelry, anything.
Ratings
🧪 What Is It?
Electrochemical etching uses electricity to selectively dissolve metal. Apply a stencil (vinyl, nail polish, or printed transparency) to a metal surface, soak a pad in salt water, connect the pad to one terminal of a battery and the metal to the other, and press. The current flows through the salt water and dissolves the exposed metal, leaving the stencil'd areas untouched. The result is a permanent, recessed design etched into the metal. Monogram your knives. Brand your tools. Etch patterns into jewelry. Put your logo on metal business cards. The setup costs literally nothing — a 9V battery, salt water, and cotton swabs.
🧰 Ingredients
- 9V battery or 12V power supply (grocery store, junk drawer)
- Salt water — 1 tablespoon salt per cup of water (kitchen)
- Cotton pads or Q-tips — the applicator (pharmacy)
- Alligator clips and wire (electronics supplier)
- Stencil material — vinyl sticker, nail polish, or laser-printed transparency (craft store)
- Metal object — knife, tool, ring, flask, anything conductive (workshop)
- Nail polish remover (acetone) — for cleanup (pharmacy)
🔨 Build Steps
- Clean the metal surface. Degrease and clean the area to be etched with acetone or rubbing alcohol. The surface must be spotless for the stencil to adhere and the etch to be even.
- Apply the stencil. Cut your design from vinyl sticker material using a craft cutter (Cricut, Silhouette) or by hand with an X-Acto knife. Apply the stencil to the metal surface, pressing firmly to eliminate air bubbles. Alternatively, paint the design with nail polish (the polish resists the etch).
- Wire the circuit. Connect one alligator clip to the positive terminal of the 9V battery and clip it to the metal object (the object is the anode). Connect the other clip to the negative terminal and clip it to a cotton pad soaked in salt water.
- Etch the design. Press the salt-water-soaked cotton pad against the stenciled area. Hold it firmly for 10-30 seconds. You'll see bubbles forming and the exposed metal darkening. Re-soak the pad in salt water and repeat 3-5 times for a deeper etch.
- Check your progress. After a few applications, peel back a corner of the stencil to check etch depth. For a subtle mark, 30 seconds total is enough. For a deep, visible etch, 2-3 minutes total may be needed.
- Clean up. Remove the stencil. Clean off the salt residue and oxidation with rubbing alcohol. Polish the surrounding area if desired. The etched area is permanently recessed and will be visible even after years of use.
- Optional: fill with color. For high contrast, fill the etched depression with enamel paint, nail polish, or cold blue (gun bluing) chemical. Wipe the excess off the surface, leaving color only in the recessed etch.
⚠️ Safety Notes
- The salt water becomes contaminated with dissolved metal ions during etching. Nickel and chromium (from stainless steel) are toxic. Do not pour the used solution down the drain. Neutralize with baking soda and dispose according to local guidelines.
- The 9V battery and cotton pad can get warm during extended etching. If the pad dries out, re-soak it before continuing — a dry pad can cause the battery to short through the metal directly, getting very hot.
- Work in a ventilated area. Electrochemical etching can produce small amounts of chlorine gas (from the salt water electrolysis). The amounts are tiny but noticeable by smell.