#062 — Laptop Screen Light Table
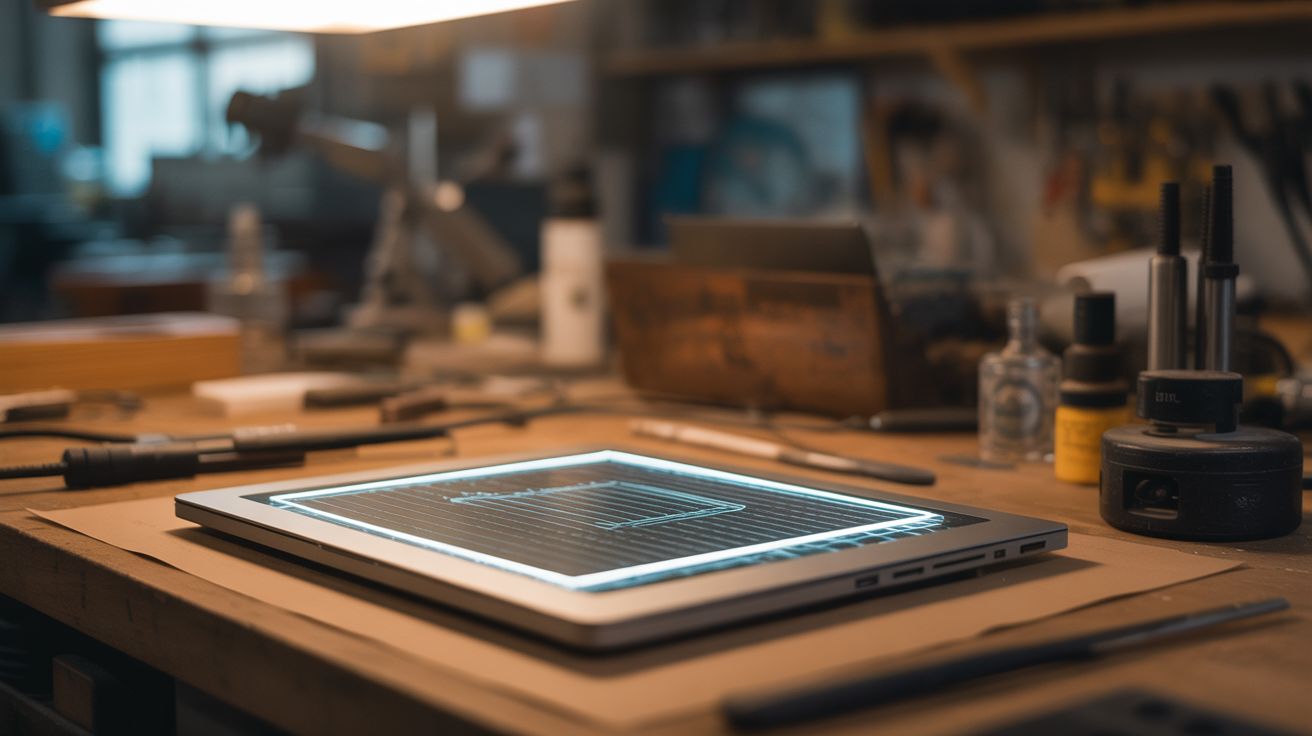
Strip the LCD layer off a laptop screen and keep the backlight. Ultra-thin, perfectly even light table for tracing art.
Ratings
🧪 What Is It?
A laptop LCD screen is actually a sandwich: a backlight panel, multiple diffuser sheets, a light guide plate, polarizing films, and the liquid crystal layer on top. The backlight assembly alone produces a perfectly uniform, bright, white light across the entire surface — exactly what a professional light table does. Strip away the LCD layer and keep just the backlight + diffuser stack, and you have an ultra-thin, featherweight light table for tracing artwork, examining negatives, viewing slides, or checking for surface flaws. Commercial light tables cost $30-80. This one is free and often thinner.
🧰 Ingredients
- Dead laptop screen — LED-backlit preferred, any size works (e-waste bin)
- 12V power adapter or USB boost converter — to power the LED backlight (junk drawer)
- Thin plywood, acrylic, or foam board — for a frame/backing (hardware store)
- Electrical tape (hardware store)
- Soldering iron — may be needed to wire backlight power directly (workshop)
🔨 Build Steps
- Remove the screen from the laptop. Take apart the laptop lid, removing the LCD panel completely. Disconnect all cables.
- Separate the layers. Laptop screens have metal or plastic frames around the edge. Remove any clips or tape holding the assembly together. Carefully separate the LCD layer (the glass panel with ribbon cables) from the backlight assembly underneath.
- Identify the backlight stack. You should now have: a metal or plastic back plate, the LED strip (usually along one edge), a light guide plate (clear acrylic wedge), and 2-4 diffuser/brightness enhancement films. Keep all of these layers — they work together to create even illumination.
- Reassemble without the LCD. Stack the diffuser films back on top of the light guide plate in their original order. The top surface should produce even, diffused white light when powered.
- Wire the backlight. The LED strip needs power — typically 12-19V DC. Trace the backlight connector and wire it to an appropriate power supply. Some LED strips have only 2 wires (power + ground), making this simple. Test that it lights evenly.
- Build a frame. Cut thin plywood or foam board to frame the edges of the backlight assembly. This protects the delicate films and gives the light table a finished edge. A piece of clear acrylic on top protects the diffuser films from damage during use.
- Add a switch. Wire a small toggle switch inline with the power cable so you can turn the table on and off without unplugging it.
- Optional: add adjustable brightness. Insert a small potentiometer or PWM dimmer ($2) in the power line. This lets you reduce brightness for comfortable long-session tracing or increase it for thick paper.
⚠️ Safety Notes
- Older CCFL-backlit screens contain mercury in the fluorescent tubes. If a tube breaks, ventilate the area immediately and clean up carefully. LED-backlit screens do not have this issue.
- The diffuser films are extremely thin and tear easily. Handle by the edges only. Once torn, they create uneven light spots.