#067 — Laptop Battery Power Bank
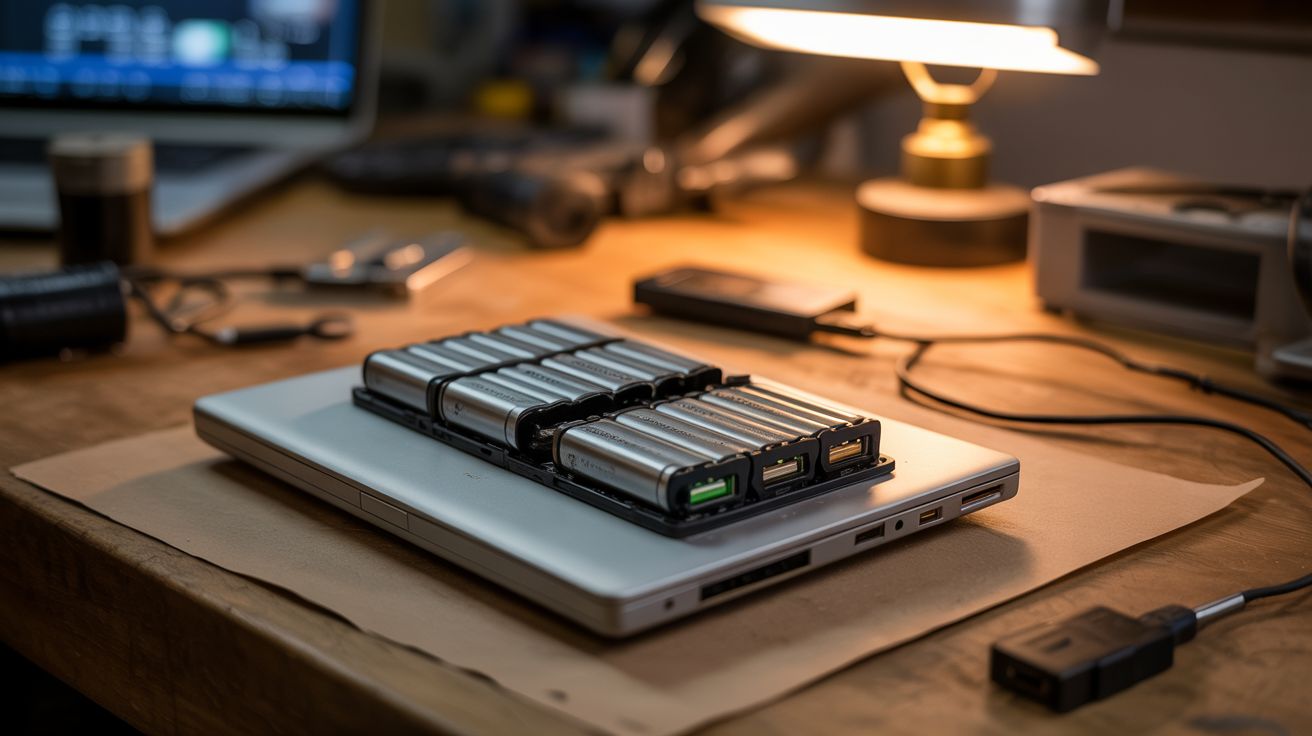
Dead laptop battery? The 18650 cells inside are probably fine. Add a $3 BMS board and a $2 USB converter. 20,000+ mAh power bank for $5.
Ratings
🧪 What Is It?
When a laptop battery "dies," usually only 1-2 of the 6-9 cells inside have failed. The rest are perfectly good 18650 lithium-ion cells — the same cells Tesla uses in their cars, and the same cells sold individually for $3-5 each. Crack open the battery pack, test each cell, keep the good ones, and wire them to a Battery Management System (BMS) board with a USB boost converter. You get a massive power bank — often 15,000-25,000+ mAh — for about $5 in parts. Commercial power banks with the same capacity cost $25-40.
🧰 Ingredients
- Dead laptop battery pack — from any laptop (e-waste bin, junk drawer)
- BMS board (3S or 4S lithium battery management system) — handles charging and protection (~$3, electronics supplier)
- USB boost converter module (5V output) — TP4056 charging module + boost converter combo boards are ideal (~$2, electronics supplier)
- Multimeter — for testing individual cell voltages (workshop)
- Nickel strip + spot welder OR solder + thick wire — for connecting cells (workshop)
- Heat shrink tubing or electrical tape — for insulation (hardware store)
- Small enclosure — 3D printed, old plastic box, or wrapped in heat shrink (junk drawer)
- Pry tools — plastic spudger, flathead screwdriver (workshop)
🔨 Build Steps
- Crack open the battery pack. Laptop battery packs are sealed with clips, glue, or ultrasonic welds. Use a plastic spudger or flathead screwdriver to pry along the seam. Work slowly — you don't want to puncture any cells. Some packs require a vice and chisel for the ultrasonic welds.
- Identify the cells. Inside you'll find 4-9 cylindrical 18650 cells (or sometimes pouch cells in ultrabooks). They're connected in series and parallel with nickel strips spot-welded to the terminals.
- Separate the cells. Carefully peel or cut the nickel strips to separate individual cells. Use pliers and twist gently — do NOT use cutting tools near the cell body. Label each cell with a number.
- Test each cell. Measure voltage with a multimeter. Cells above 2.5V are potentially good. Cells below 2.0V are dead — recycle them properly. Charge the good cells individually using a single-cell lithium charger to 4.2V, then measure capacity with a discharge tester. Keep cells that hold 1500+ mAh.
- Match cells. Group cells with similar capacities and voltages for your pack. Mismatched cells cause the pack to perform poorly and can be unsafe. You want cells within 100mAh of each other.
- Wire the pack. Connect matched cells in the configuration your BMS requires (3S1P = 3 cells in series, 3S2P = 6 cells for double capacity, etc.). Use nickel strips and a spot welder for the best connection, or solder thick wires quickly — do not hold a hot iron on a cell for more than 2-3 seconds.
- Connect the BMS. Wire the BMS board to the battery pack following the board's wiring diagram. The BMS handles overcharge protection, over-discharge protection, and cell balancing. Connect B+, B-, and the balance leads.
- Add the USB output. Connect the USB boost converter to the BMS output. This steps the battery voltage up to a stable 5V USB output. Some BMS boards have USB output built in.
- Test the complete bank. Charge the bank fully via the input port. Test USB output with a phone — it should charge normally. Verify the BMS cuts off charging at full and prevents over-discharge.
- Build the enclosure. Wrap the pack in heat shrink tubing or mount in a small plastic box. Ensure the USB ports are accessible. Label the capacity and voltage.
⚠️ Safety Notes
- Lithium-ion cells can catch fire or explode if punctured, short-circuited, or overheated. Never use metal tools near cell terminals. Work on a non-flammable surface. Keep a fire extinguisher or sand nearby. NEVER skip the BMS — it's your safety net against overcharge and short circuits.
- Cells below 2.0V may have internal damage and could be unstable when charged. Discard them at a battery recycling point — do not attempt to revive deeply discharged cells.
- When soldering to cell terminals, work fast (under 3 seconds per joint). Prolonged heat can damage internal cell components and create an internal short circuit.