#201 — Camera Gimbal Stabilizer
Salvage the gimbal motors from a crashed drone and build a handheld 3-axis stabilizer for your phone or GoPro — the same tech that costs $200+ retail.
Ratings
🧪 What Is It?
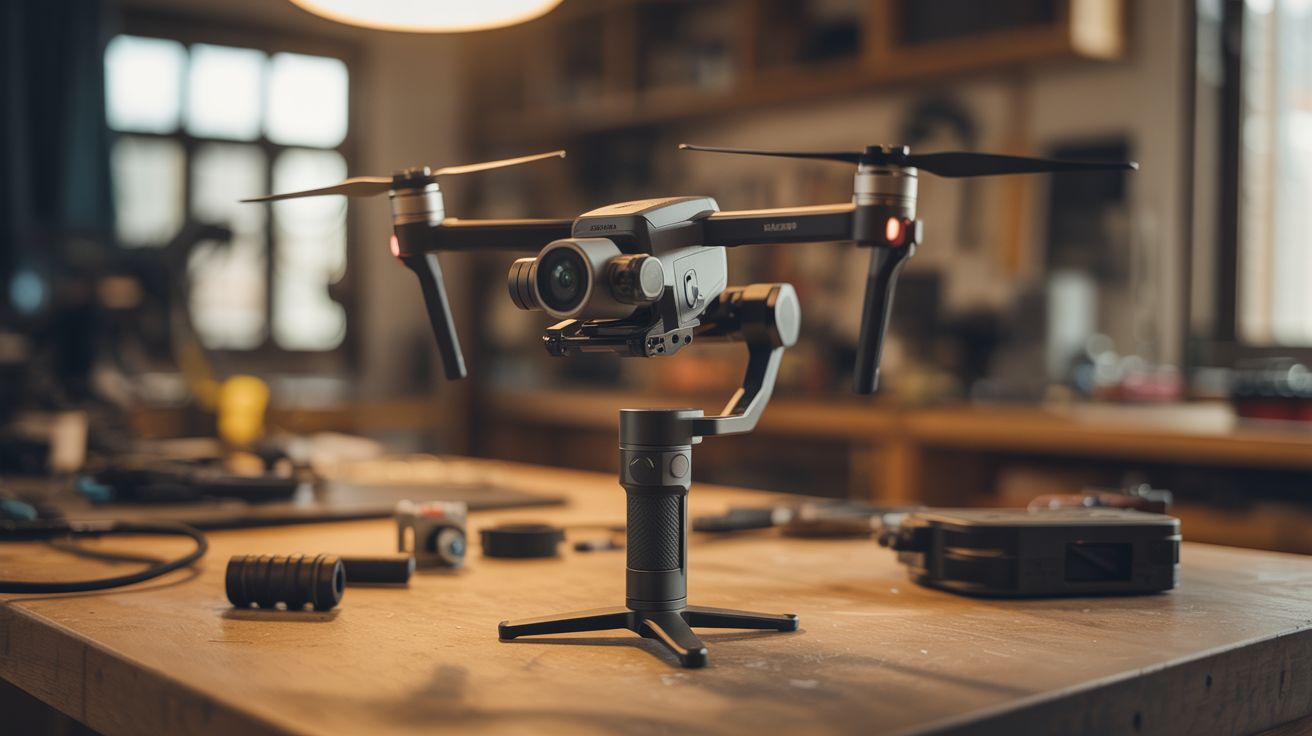
A handheld camera stabilizer that uses three brushless gimbal motors and a PID control loop to counteract your hand movements in real time, keeping the camera perfectly level and smooth. The same technology that DJI sells for $150-$400 in their Ronin and Osmo lines — except you're building it from the guts of a crashed drone for nearly nothing.
Drone gimbal motors are brushless outrunners designed for extremely precise angular positioning. Unlike propulsion motors that spin continuously, these motors hold specific angles and make micro-corrections thousands of times per second. Paired with an IMU (inertial measurement unit) that detects tilt, rotation, and acceleration, and an Arduino running a PID algorithm, you get a stabilizer that compensates for hand shake, walking bounce, and sudden movements. The result is footage that looks like it was shot on a professional dolly or steadicam rig.
The IMU reads the current orientation, the PID loop calculates how far off-level the camera is, and the motors apply corrective torque on all three axes (pitch, roll, yaw) within milliseconds. The feedback loop runs at 1000+ Hz, faster than any human movement.
🧰 Ingredients
- Brushless gimbal motors x3 — salvaged from drone camera gimbal (source: crashed DJI Phantom/Mavic — free)
- MPU-6050 or MPU-9250 IMU module — 6-axis or 9-axis accelerometer/gyroscope (electronics supplier, ~$3)
- Arduino Nano or STM32 board (electronics supplier, ~$5-$10)
- SimpleBGC or Storm32 gimbal controller board (alternative to Arduino if you want plug-and-play) (online, ~$15-$25)
- LiPo battery — 2S or 3S, 800-1500mAh (salvaged from drone, or electronics supplier, ~$8)
- 3D printed or aluminum frame — L-brackets and a handle (3D printer or hardware store, ~$5)
- Phone/GoPro mount clamp (hardware store or 3D printed)
- Wiring, connectors, and heat shrink (electronics supplier)
🔨 Build Steps
- Harvest the gimbal motors. Disassemble the drone's camera gimbal assembly carefully. Each axis (pitch, roll, yaw) has its own brushless motor. Desolder or clip the motor leads, keeping track of the three phase wires on each motor. Label them. If the drone's gimbal controller board is intact, save it — it may work directly as your controller.
- Design the frame geometry. The stabilizer needs three pivot axes arranged so each motor controls one degree of freedom. The camera mounts on the innermost axis (pitch), which is nested inside the roll axis, which is nested inside the yaw axis. The handle attaches below the yaw motor. Sketch this out before building. The frame can be 3D printed, bent from aluminum strip, or assembled from small L-brackets.
- Build the frame. Construct the three-axis gimbal cage. The pitch motor holds the camera platform. The roll motor holds the pitch assembly. The yaw motor sits on top of the handle and holds the roll assembly. Each motor shaft connects to the next frame element. Keep the assembly as light and compact as possible — every gram of excess weight makes the motors work harder.
- Mount the IMU. Attach the MPU-6050 or MPU-9250 directly to the camera platform (the innermost moving part). It must move with the camera so it can detect the camera's actual orientation. Use double-sided foam tape for vibration isolation. Orient the IMU so its axes align with the gimbal axes.
- Wire the electronics. If using an Arduino: connect the IMU via I2C (SDA, SCL, VCC, GND). Connect each motor's three phase wires to a brushless motor driver (L6234 or similar). If using a SimpleBGC board: follow the board's wiring diagram — it has integrated drivers and just needs motor leads and IMU connections.
- Flash the firmware. For SimpleBGC boards, use the SimpleBGC GUI tool to configure motor power, PID gains, and IMU orientation. For Arduino, upload a gimbal stabilization sketch that reads IMU data, runs a PID loop for each axis, and outputs PWM to the motor drivers. Start with conservative PID values (low P, very low I, moderate D) to prevent oscillation.
- Tune the PID loop. Power up the gimbal holding it by the handle. The camera platform should resist being tilted. If it oscillates (vibrates rapidly), reduce P gain. If it drifts slowly, increase I gain. If it overshoots and bounces back, increase D gain. Tuning is iterative — adjust one parameter at a time and test by tilting, walking, and making sudden movements.
- Balance the gimbal. Before final use, physically balance the camera on the gimbal so the motors don't have to fight gravity constantly. Adjust the camera position on the platform until it stays roughly level with motors unpowered. This dramatically reduces power consumption and motor heat.
- Test and film. Walk, run, climb stairs, and spin while recording. Compare stabilized footage with unstabilized footage from the same camera. The difference is dramatic. Fine-tune PID values based on real-world performance.
⚠️ Safety Notes
- LiPo batteries can catch fire if punctured, over-discharged, or short-circuited. Use a battery with a built-in protection circuit, or add one. Never leave a LiPo charging unattended.
- The gimbal motors can pinch fingers if they correct suddenly while you're adjusting the frame. Keep fingers clear of the pivot joints when the system is powered on.
- If using a SimpleBGC board, double-check motor wiring before powering on. Swapped phase wires can cause the motor to spin uncontrollably instead of holding position, potentially flinging the camera.
🔗 See Also
- Gimbal Motor Star Tracker — same motors, different application: tracking stars at sidereal rate
- FPV Ground Rover — mount this stabilizer on a rover for smooth mobile footage