#204 — Drone Motor Wind Turbine
Four brushless drone motors wired as generators, paired with 3D-printed blades, turn wind into usable electricity.
Ratings
🧪 What Is It?
Every brushless motor is also a generator. Spin the shaft and it produces 3-phase AC voltage proportional to RPM. Drone propulsion motors are particularly well-suited for small wind turbines because they're designed to spin at high RPM, they have strong magnets for high power density, and they have low starting torque so they begin generating in light wind.
This build mounts four drone motors on a simple frame, each with its own set of 3D-printed or carved blades. The AC output from each motor runs through a rectifier (three diodes) to produce DC, and the four outputs are wired in series for higher voltage or parallel for higher current. A charge controller feeds the power into a battery or USB charger. Four small turbines outperform one big one in gusty or turbulent conditions because they capture energy from eddies and direction changes that a single large turbine would miss.
You won't power your house. But you can trickle-charge a phone, run LED lights, or keep a trail camera alive indefinitely — all from salvaged motors that cost you nothing.
🧰 Ingredients
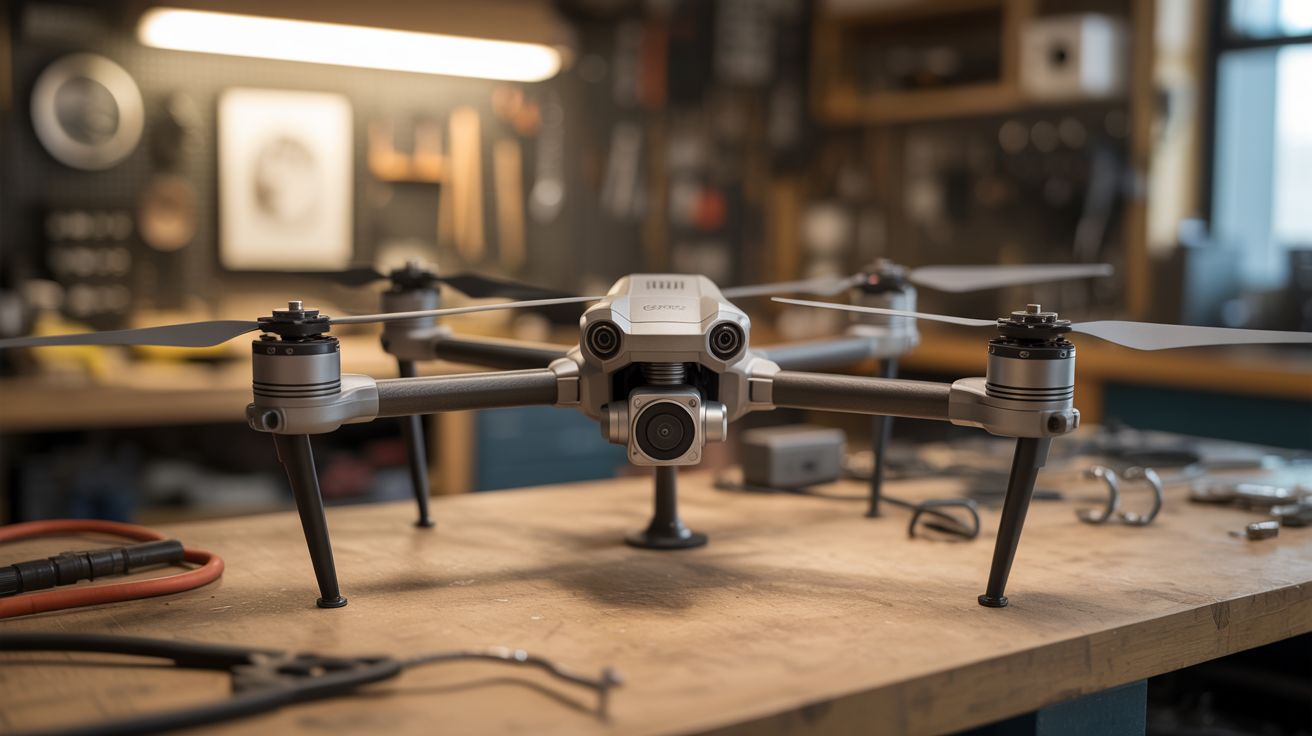
- Brushless drone motors x4 — propulsion motors (not gimbal motors) (source: crashed drone — free)
- 3D-printed blades or hand-carved balsa wood blades — 3 blades per motor (3D printer and filament, or hobby store)
- Rectifier diodes x12 — 1N4007 or similar, three per motor for 3-phase rectification (electronics supplier, ~$2)
- Charge controller module — TP4056 or similar for LiPo charging (electronics supplier, ~$2)
- LiPo or Li-ion battery — 3.7V, 2000-5000mAh (salvaged from drone or old phone)
- PVC pipe and fittings — for turbine mast and frame (hardware store, ~$5)
- Zip ties, bolts, and mounting hardware (hardware store)
- USB boost converter — optional, to get 5V USB output from the battery (electronics supplier, ~$2)
🔨 Build Steps
- Design the blades. Each turbine needs 3 blades with an airfoil cross-section, angled to catch wind and spin the motor. For 2204-2206 size motors, blade length should be 6-8 inches. You can 3D print NACA airfoil blades (files available on Thingiverse for small wind turbines) or carve them from balsa wood. The blades must be balanced — an unbalanced rotor vibrates and wastes energy.
- Attach blades to motor shafts. Press or glue a 3D-printed hub onto each motor's shaft. The hub holds three blades at 120-degree spacing. Use the same prop adapter method as the original drone — many drone motors use M5 threaded shafts with prop nuts. Spin each rotor by hand and verify it's balanced (no wobble).
- Build the rectifier circuits. For each motor, build a simple 3-phase bridge rectifier using six diodes (or three diodes in a half-bridge configuration). The three motor phase wires connect to the AC inputs. The DC output feeds into the charge controller or battery. Solder these on small perfboard.
- Wire the turbines together. Connect the four rectified DC outputs in parallel (for maximum current) or in series (for higher voltage, if your charge controller needs it). Add a blocking diode on each turbine's output to prevent back-feeding from the battery into a stalled turbine.
- Build the mounting frame. Use PVC pipe to create a vertical mast with four horizontal arms, one for each turbine. Space the turbines far enough apart that their blade discs don't overlap. Point each turbine in the same direction. At the top of the mast, add a tail vane (a flat piece of plastic or aluminum) so the assembly weathervanes into the wind.
- Mount the electronics. Attach the rectifier boards, charge controller, and battery at the base of the mast in a weatherproof enclosure (a plastic food container works). Run wires from each turbine down the mast to the enclosure.
- Install and test. Plant the mast in an open area with consistent wind. Monitor the battery voltage over a few hours. In 10-15 mph wind, expect 2-5 watts total from four small turbines — enough to charge a phone in a few hours or run LED strip lighting continuously.
⚠️ Safety Notes
- Spinning blades are a hazard. Keep hands and face away from the blade disc when the turbines are running. Small blades at high RPM can cut skin. Install the turbines above head height.
- The turbines must be secured against high winds. In a storm, small turbines can overspin and disintegrate, throwing blade fragments. Add a braking mechanism (short the motor leads to electromagnetically brake the rotor) or bring the turbines inside during severe weather.
- LiPo batteries require a proper charge controller — overcharging causes fires. The TP4056 module handles this automatically, but verify it's working before leaving the system unattended.
🔗 See Also
- Drone LiPo Powerwall — store wind energy in salvaged drone batteries
- Scooter Motor Wind Turbine — larger turbine from e-scooter hub motors