#006 — Atmospheric Reentry Simulator
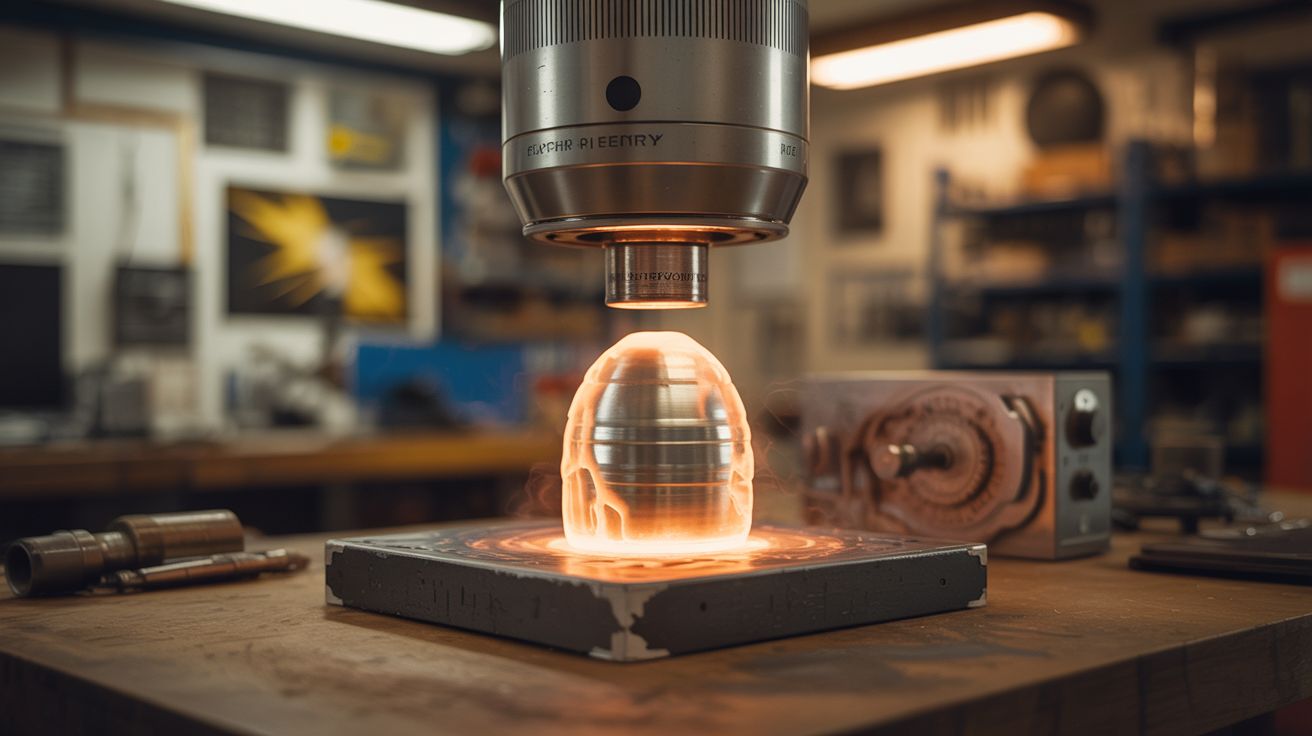
Use a microwave transformer to heat metal samples until they glow, melt, and behave like spacecraft shielding during reentry.
Ratings
🧪 What Is It?
A microwave oven transformer (MOT) rewired to output massive current at low voltage through metal samples clamped between two copper electrodes. The metal heats up from electrical resistance — first glowing red, then orange, then white, then sagging and melting. It's the same resistive heating principle that spacecraft heat shields experience during atmospheric reentry, and it looks just as dramatic.
You can test different metals and alloys side by side: watch how steel glows and holds shape while aluminum slumps into liquid, how copper conducts so well it barely heats up while nichrome wire reaches white-hot in seconds. It's a real-time materials science lab built from a dead microwave.
🧰 Ingredients
- Microwave oven transformer (MOT) (source: dead microwave, free)
- Thick copper cable or copper bus bar for output leads, at least 4 AWG (source: scrap electrical wire, free-$5)
- Two copper clamps or bolted copper blocks for electrodes (source: hardware store or electrical supply, ~$10)
- Metal samples — steel wire, aluminum strips, nichrome wire, titanium scraps (source: hardware store, scrap pile, or online, ~$5-15)
- Variac or lamp dimmer for power control (source: online, ~$15-25)
- Welding gloves and face shield (source: hardware store, ~$15)
- Fire bricks or ceramic tile work surface (source: hardware store, ~$5)
- 14-gauge wire and wire nuts (source: hardware store)
🔨 Build Steps
-
Rewire the MOT for high current. Remove the high-voltage secondary winding (the thin wire with many turns). Replace it with 2-3 turns of very thick copper cable (4 AWG or thicker). This converts the MOT from high-voltage/low-current to low-voltage/extremely-high-current — you'll get roughly 2-4 volts at hundreds of amps. That's enough current to heat metal to incandescence.
-
Build the electrode clamps. Mount two copper blocks or heavy copper clamps on a fire brick or ceramic tile base, spaced 4-8 inches apart. These are your sample holders. Connect each one to one end of your new secondary winding with the thick copper cable. Bolt all connections tight — loose connections will arc and melt.
-
Wire the primary. Connect the MOT primary to wall power through a variac or lamp dimmer. This lets you control the current and therefore the heating rate. Start low and ramp up — this gives you time to observe each stage of heating.
-
Prepare metal samples. Cut various metal samples to the same length (matching your electrode spacing). Thin samples work best — 16-20 gauge wire or thin sheet metal strips. Thicker samples need more current. Label your samples so you remember what's what after they're glowing.
-
Set up the workspace. Place the electrode assembly on fire bricks on a non-flammable surface. Clear the area of anything that could catch fire. The metal samples will drip when they melt. Have a fire extinguisher within reach.
-
Clamp your first sample. With the power OFF, clamp a metal sample between the two electrodes. Make sure the connection is tight — poor contact creates hot spots at the clamp instead of even heating across the sample. Nichrome wire is a great first test because it heats evenly and predictably.
-
Apply power gradually. Turn on the variac at its lowest setting and slowly increase. Watch the sample begin to change color — dull red, cherry red, bright orange, yellow, white. Each metal has a characteristic color progression and melting point. This is the reentry simulation — you're watching the same thermal progression spacecraft shielding goes through.
-
Compare materials. Test different metals at the same power level. Steel holds shape at orange heat while aluminum is already a puddle. Copper barely changes color because it conducts electricity so well. Titanium glows with a peculiar blue-white. Document your observations — this is real materials science.
-
Push to destruction. For the most dramatic effect, pick a sample and crank the power until it melts, drips, and falls apart. The moment a metal sample sags and stretches under its own weight at white heat is genuinely mesmerizing. Record it in slow motion if you can.
⚠️ Safety Notes
Spicy Level 4 build. Read the Safety Guide and Chemical Safety, Fire & Pyro Safety, High Voltage Safety before starting.
[!CAUTION] The secondary output is low voltage but extremely high current. While 2-4 volts won't shock you through dry skin, the current is enough to instantly weld metal. Never touch the electrodes or sample while powered — a ring on your finger across the terminals could result in a severe burn. Remove all jewelry before operating.
- Metals at white heat radiate intense infrared and some UV. Don't stare at white-hot samples without eye protection. Welding-shade glasses or at minimum dark sunglasses. A face shield protects from spatter.
- Molten metal drips are inevitable. Work on fire brick over a concrete floor. Never over wood, carpet, or plastic. Keep a wide clear zone — drips can bounce and roll.
🔗 See Also
- Lichtenberg Wood Burner — same MOT, different application (high voltage through wood instead of high current through metal)
- Desktop Foundry — if you want to actually collect and cast the molten metal