#212 — Electrolysis Rust Eraser
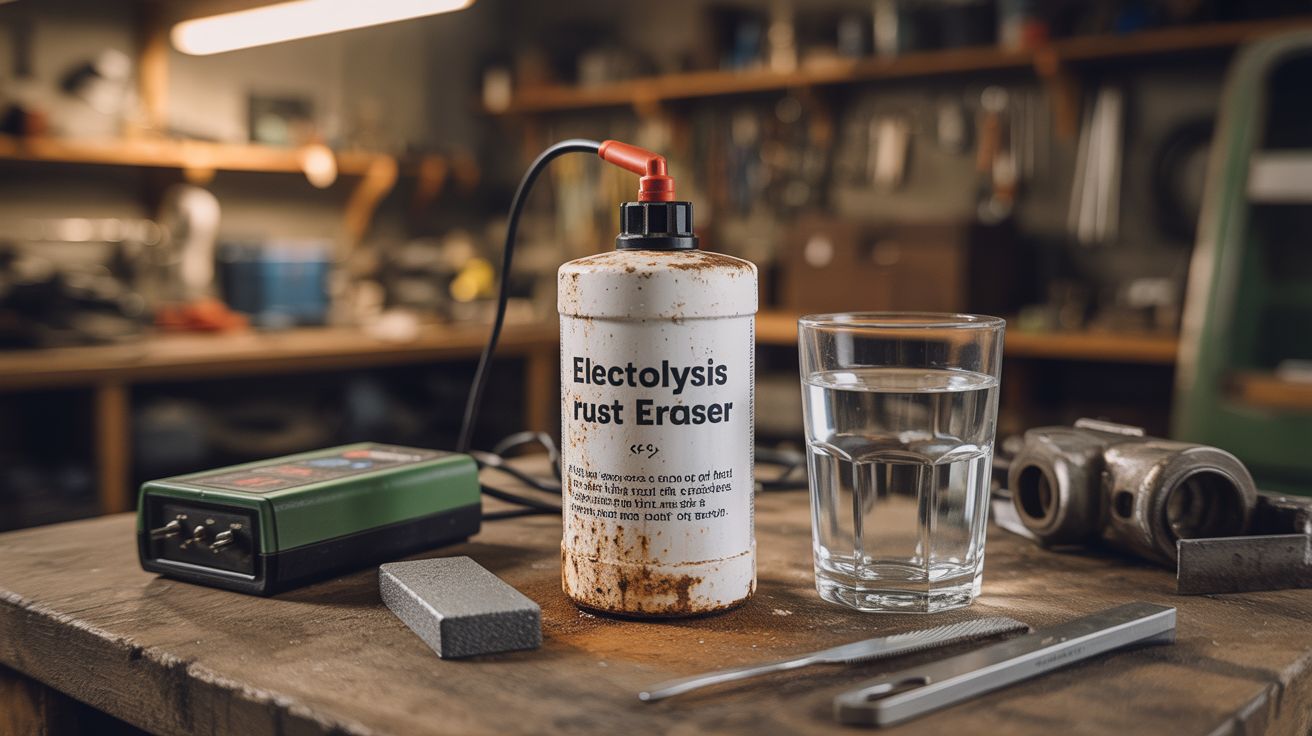
Washing soda, water, a battery charger, and a sacrificial piece of scrap steel — electrolysis pulls rust out of pits and crevices that sandpaper can't reach.
Ratings
🧪 What Is It?
Electrolysis rust removal uses DC electricity to reverse the oxidation process that created the rust. Submerge a rusty tool in a solution of washing soda (sodium carbonate) and water, connect the rusty object to the negative terminal (cathode) of a DC power supply, connect a sacrificial piece of steel to the positive terminal (anode), and turn it on. Oxygen atoms migrate from the rust (iron oxide) on your tool to the sacrificial anode, leaving behind clean iron. Meanwhile, hydrogen bubbles form on the rusty object, mechanically lifting loose rust and scale.
This method is superior to chemical rust removers (vinegar, phosphoric acid) and mechanical methods (wire wheels, sandpaper) for complex shapes. Electrolysis works in every crevice, pit, thread, and cavity that the solution can reach. It doesn't remove any base metal — only the oxide layer. A 100-year-old hand plane covered in deep pitting comes out with clean iron in every pit, ready for oiling. The process takes 4-24 hours depending on severity, but it requires zero effort once set up — just let electricity do the work.
🧰 Ingredients
- Washing soda (sodium carbonate) — in the laundry aisle (grocery store, ~$4)
- Plastic tub — large enough to submerge your rusty objects (dollar store or salvaged)
- DC power supply — a manual battery charger (2-10 amp) or old laptop charger (junk drawer, thrift store)
- Sacrificial steel anode — rebar, angle iron, or a steel baking pan (not stainless steel) (hardware store or scrap pile — free)
- Wire and alligator clips — for connections (electronics supplier or hardware store)
- Water — tap water works fine (free)
🔨 Build Steps
- Mix the electrolyte solution. Fill the plastic tub with warm water. Dissolve washing soda at a ratio of 1 tablespoon per gallon. Stir until fully dissolved. The solution should be clear. Do not use table salt (sodium chloride) — it produces chlorine gas. Do not use baking soda — it works but is less effective than washing soda.
- Prepare the sacrificial anode. The anode is a piece of scrap steel that will corrode during the process (the rust transfers here). Use plain mild steel — rebar, angle iron, or a flat steel plate. Do NOT use stainless steel as the anode — electrolysis of stainless steel releases hexavalent chromium, which is highly toxic and carcinogenic. Position the anode so it surrounds the rusty object as much as possible for even cleaning.
- Connect the rusty object to NEGATIVE. Attach a wire with an alligator clip from the negative terminal of the power supply to the rusty object. The connection point must be clean metal — scrape a small spot on the object down to bare steel so the clip makes good electrical contact. The object is the cathode.
- Connect the anode to POSITIVE. Attach a wire from the positive terminal to the sacrificial steel anode. This is the piece that will corrode. Double-check polarity — reversing it will strip metal from your object and plate it onto the anode. Negative to the thing you want to save. Positive to the thing you're sacrificing.
- Submerge and power on. Lower both the object and anode into the solution, fully submerged. The wires and clips should stay above the waterline. Turn on the power supply. You should see fine bubbles forming on the rusty object within seconds — that's hydrogen gas, a sign the process is working. Brown sludge will start appearing in the water as rust migrates off.
- Monitor progress. Check every few hours. Light rust removes in 2-4 hours. Heavy, pitted rust takes 12-24 hours. The water will turn brown and murky. For heavily rusted objects, rotate them periodically to ensure all surfaces face the anode. You can change the water if it gets too opaque to see the object.
- Remove and clean. When the object looks clean (no orange remaining), disconnect the power, remove the object, and scrub it with a nylon brush under running water. A black residue may remain — this is magnetite (Fe3O4), a converted form of rust. It comes off easily with a scotch-brite pad. Immediately dry the object and apply oil or wax — clean bare iron rusts extremely fast in air.
⚠️ Safety Notes
- The process produces hydrogen gas (flammable) at the cathode. Work in a ventilated area. Do not do this in a sealed room or near open flames. The amount of hydrogen is small at typical currents (2-5 amps), but it can accumulate in still air.
- Never use stainless steel as the anode. Electrolysis breaks down the chromium in stainless steel and releases hexavalent chromium (Cr6+) into the solution, which is extremely toxic and a known carcinogen. Plain mild steel, cast iron, or rebar only.
- The DC voltages involved (12-24V) are not dangerous to touch, but keep the power supply itself dry and away from the tub. Do not reach into the solution while the power is on — the current path through the water could cause a tingle.
🔗 See Also
- Electroplating Station — the same electrolysis principle used to deposit metal instead of removing oxide
- Coin Battery Stack — another electrochemistry build using household materials