#219 — Alternator Welder
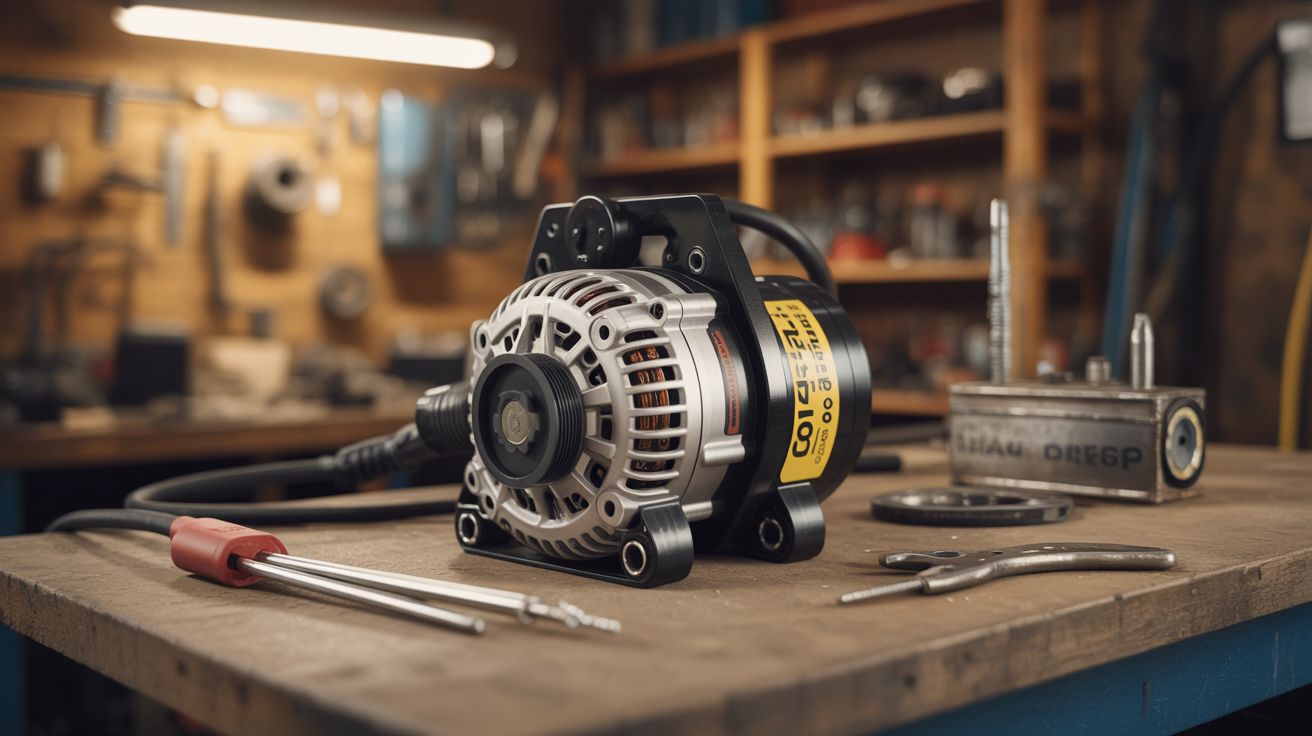
Car alternator + car battery = field stick welder capable of 60-100A output. Weld anywhere there's a running engine.
Ratings
🧪 What Is It?
A car alternator is a three-phase AC generator that outputs 13.8V at up to 100+ amps when driven at engine RPM. That's more than enough current to melt steel with a welding rod. The stock internal voltage regulator limits output to battery-charging levels, but bypass it — run the field winding at full excitation — and the alternator becomes a brute-force current source. Connect the output to a welding electrode holder and a ground clamp, and you have a functional stick welder that runs off any engine with a belt. Farmers, off-roaders, and field mechanics have been doing this for decades. It's ugly. It works. The welds aren't pretty, but they'll hold a gate hinge or a broken trailer tongue together when you're 50 miles from the nearest shop.
🧰 Ingredients
- Car alternator — the bigger the better, 100A+ rating preferred (junkyard, any vehicle)
- Car battery — 12V, healthy enough to start the excitation (junkyard or existing vehicle)
- Welding electrode holder (stinger) (welding supply, ~$10)
- Ground clamp — heavy-duty C-clamp style (welding supply, ~$8)
- Welding rods — 6011 or 6013, 1/8" diameter (hardware store)
- Heavy gauge cable — 4 AWG or thicker, for output leads (auto parts store or junkyard battery cables)
- Belt and pulley setup — to spin the alternator with a gas engine or existing vehicle engine (junkyard)
- Toggle switch or rheostat — to control field winding excitation (electronics supplier)
- Welding helmet and gloves (hardware store)
🔨 Build Steps
- Pull the alternator. Grab the biggest alternator you can find at the junkyard. Truck and SUV alternators are typically rated 120-160A. Keep the wiring harness connector — it tells you which pin is the field winding.
- Identify the field winding terminals. Most alternators have a plug with two pins for the field coil (sometimes labeled F and ground, or IG and L). The field winding is an electromagnet inside the rotor. More current through the field = more output from the stator.
- Bypass the internal voltage regulator. Remove the built-in regulator/brush assembly. Wire the field winding directly to 12V through a toggle switch or rheostat. This gives you manual control over the output current — full field current means maximum welding amps.
- Mount the alternator. If using a standalone gas engine (lawnmower engine, generator engine), mount the alternator on a bracket and connect it with a belt. If using a vehicle, you can mount a second alternator alongside the stock one or just modify the stock unit.
- Wire the output leads. Connect the alternator's main output stud (B+ terminal) to the welding electrode holder using 4 AWG cable or heavier. Connect the alternator case ground to the ground clamp using the same gauge cable. Keep the cables as short as practical — resistance is the enemy of amperage.
- Connect the battery. Wire the car battery in parallel with the alternator output. The battery acts as a buffer, smoothing the pulsating DC output. This makes the arc more stable and easier to strike.
- Set the RPM. The alternator needs to spin at 3,000-5,000 RPM to produce welding current. If belt-driven from a small engine, size your pulleys accordingly. If using a running vehicle, a fast idle (1,500-2,000 engine RPM) with the right pulley ratio gets you there.
- Strike an arc. Clamp the ground to your workpiece, insert a 6011 rod into the stinger, put on your welding helmet, and scratch-start the arc. Adjust the field winding current (via switch or rheostat) until the arc is stable. A buzzing, spattery arc means too much current; a stubbing, sticky arc means too little.
- Practice and tune. Alternator welders produce DC with some ripple, which actually helps with certain rod types. Start with thin material (1/8" steel) and 6013 rods, which are more forgiving. Work up to structural welds only after you can run consistent beads.
⚠️ Safety Notes
Spicy Level 3 build. Read the Safety Guide before starting.
- This is a real welder producing real UV radiation and molten metal. Wear a proper welding helmet (auto-darkening shade 10+), leather gloves, and long sleeves. Welding flash burns your corneas and you won't feel it until hours later.
- The alternator output is low voltage (14V) but extremely high current. A short circuit across the output cables can melt copper instantly and start a fire. Always disconnect the battery when not welding. Never let the output cables touch each other without a welding rod in the circuit.
- Hot metal, sparks, and slag are part of the process. Work on a non-flammable surface, keep a fire extinguisher within reach, and never weld near fuel, solvents, or dry grass.