#264 — Waffle Iron Heat Press
A $3 waffle iron does the same job as a $200 heat press. Flat plates, even pressure, built-in thermostat.
Ratings
🧪 What Is It?
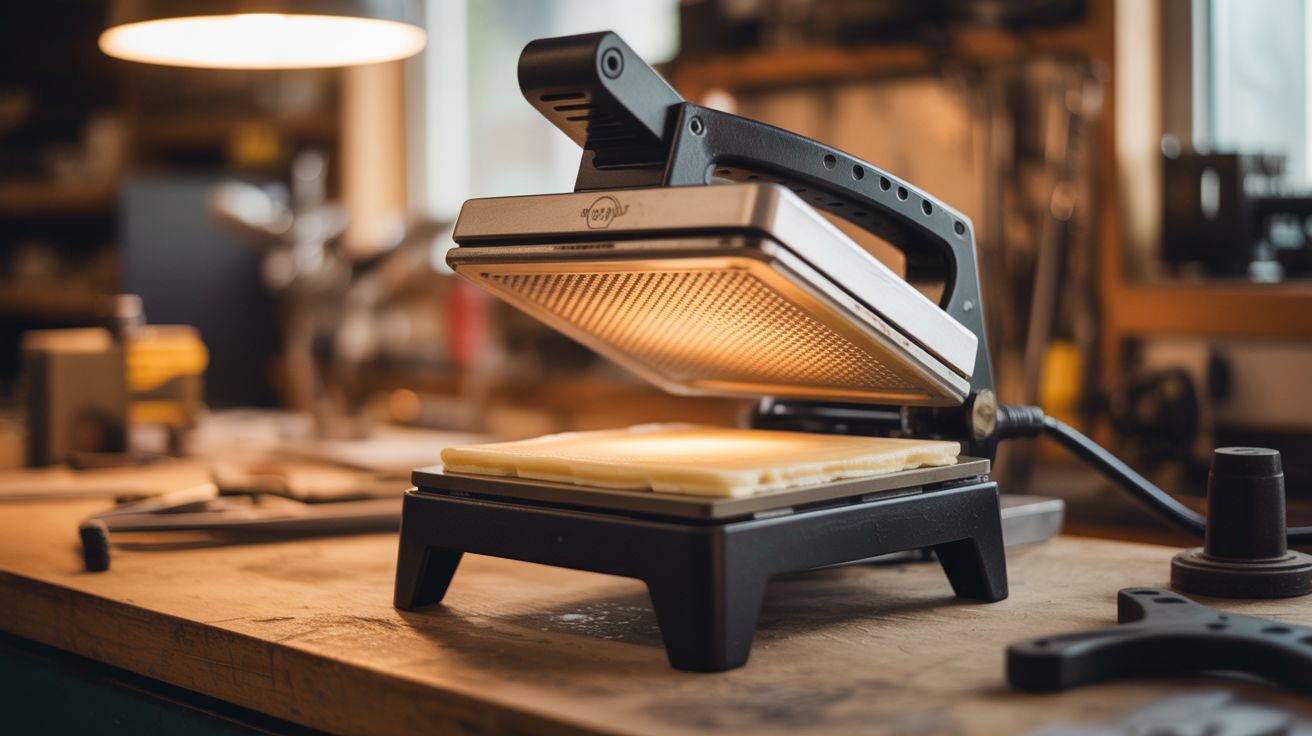
Take a step back and look at what a waffle iron actually is: two heated plates that clamp together with even pressure and a built-in thermostat. That's the exact definition of a heat press. The only difference between your aunt's waffle iron and a professional T-shirt press is flat plates and a marketing department.
The fix is almost comically simple. Bolt or lay flat aluminum plates over the waffle grid on both sides, and you've got a countertop heat press that reaches 350-400F with even clamping force. Use it for iron-on T-shirt transfers and heat-transfer vinyl. Press flowers in under a minute instead of waiting two weeks in a book. Laminate paper projects between thermal pouches. Cure contact adhesives. Soften thermoplastics for forming. The heating element and thermostat are already built in — you're just giving them a new job description.
Professional T-shirt printers will tell you this can't possibly work as well as their $500 Hotronix. They're technically right — commercial presses have more uniform pressure distribution, precise digital temperature control, and larger platen areas. But for personal projects, custom one-offs, small craft batches, and "I need a printed shirt in 20 minutes" situations, the waffle iron gets it done. The results are visually indistinguishable on most materials. Your shirts won't know the difference.
🧰 Ingredients
- Waffle iron — Belgian style or flat-grid style; flatter grids need thinner shim plates (thrift store, $3-5)
- Flat aluminum sheet — 1/16" to 1/8" thick, cut to fit the waffle grid area on both top and bottom plates (hardware store, $3-5)
- High-temperature silicone pad or folded cotton fabric — shims to fill the gap between the aluminum plates and the waffle grid peaks (kitchen supply, craft store, $3)
- Heat-transfer vinyl (HTV) or iron-on transfer paper — for T-shirt printing (craft store, $5-10)
- Teflon sheet or parchment paper — release layer to protect vinyl and press surfaces (kitchen supply, $3)
- Infrared thermometer — to verify actual plate surface temperature (hardware store, $12-15)
- Tin snips — for cutting aluminum sheet (toolbox)
- Optional: lamp dimmer rated for the waffle iron's wattage — for fine temperature control (hardware store, $8)
🔨 Build Steps
-
Measure the waffle grid surface. Open the waffle iron fully and measure the flat area on both the top and bottom plates. Note the depth of the grid pattern — deep Belgian waffle grids need thicker shim material between the grid and the aluminum plate. Also note the overall closure height — you need room for the aluminum plates plus your work material without preventing the iron from closing fully.
-
Cut flat press plates. Cut aluminum sheet to fit snugly inside the waffle iron on both top and bottom. Aluminum cuts easily with tin snips or a hacksaw. Round off all sharp corners and deburr the edges — aluminum edges cut fingers enthusiastically. The plates should sit flat on the grid peaks without rocking or sliding around. If the grid pattern is deep, the plates may sit unevenly on the peaks — that's what the silicone pad or cotton shim layer fixes.
-
Add shim layers. If there are gaps between the aluminum plates and the waffle grid (because the plates bridge across grid peaks), add a layer of high-temperature silicone pad or folded cotton fabric between the grid and the plate. This fills the voids and distributes clamping pressure more evenly. Even pressure is what makes a heat press work — uneven pressure means some areas transfer well and others don't, leaving you with patchy, peeling prints.
-
Test closure and contact. Place plates and shims on both surfaces and close the waffle iron. The aluminum plates should make firm, even contact with each other across the full surface. Press on different spots while closed — you should feel equal resistance everywhere. If one corner is loose, add more shim material under that area. If the iron won't close fully, your plates or shims are too thick — reduce thickness.
-
Calibrate temperature. Close the iron with plates installed, let it heat for 5 minutes to reach full temperature, then quickly open and immediately shoot the aluminum plate surface with the infrared thermometer. Read multiple spots — center and all four corners. Most waffle irons run 350-400F. For heat-transfer vinyl (HTV), the target is 305-320F. For iron-on inkjet transfers, 350-375F. For sublimation, 375-400F. If the iron runs too hot for your material, use the built-in thermostat dial (if it has one) to reduce temperature. For finer control, wire a lamp dimmer inline with the power cord — it gives you a smooth, continuous temperature dial.
-
Test on scrap material. Cut a small piece of HTV, weed the design (remove the excess vinyl around the letters/shapes), and press it onto a scrap piece of cotton fabric. Follow the vinyl manufacturer's recommended time and temperature (typically 305-320F for 10-15 seconds). Cover the vinyl with a Teflon sheet or parchment paper to protect it from direct plate contact. Close the iron, apply firm pressure with the handle, and hold for the specified time. Open, let cool for 10 seconds, and peel the carrier backing. If the vinyl lifts with the backing, you need more time or more heat. If the vinyl is wrinkled, discolored, or the fabric is scorched, reduce heat or time.
-
Press T-shirts. Lay the shirt flat on the bottom plate, smoothing out wrinkles — wrinkles under the transfer create permanent creases. Position your weeded vinyl design face-down on the fabric. Cover with a Teflon sheet. Close the iron and apply even pressure with both hands on the handle. Hold for the specified time (set a timer — guessing leads to inconsistency). Open, let cool briefly, and peel the carrier sheet slowly. Admire your work.
-
Press flowers. Fresh flowers go between two sheets of parchment paper. Set the waffle iron to its lowest temperature (or use the lamp dimmer for ~200F). Close gently — you want heat and light pressure, not crushing force. Press for 30-60 seconds. The heat flash-dries the flower while preserving color and shape far better than the traditional "stick it in a dictionary for three weeks" method. One minute versus two weeks. Some flowers (roses, daisies) work better than others (succulents, thick petals). Experiment.
-
Explore other applications. The flat heat-and-clamp setup works for: laminating paper in thermal lamination pouches, curing contact cement between surfaces, heat-setting fabric dye, softening thermoplastics (Worbla, Kydex) for forming, melting wax for encaustic art, activating heat-shrink labels on bottles, and — remove the aluminum plates and use the original waffle grid — making panini with proper grill marks. This might be the most versatile kitchen appliance conversion in the entire collection.
⚠️ Safety Notes
- Aluminum plates retain heat long after the waffle iron is unplugged. Use oven mitts to handle plates and let everything cool on a heat-resistant surface. The plates stay dangerously hot for 10+ minutes after power-off.
- Heat-transfer vinyl produces fumes when heated. Work in a ventilated area or near an open window. If you smell burning plastic, the temperature is too high — open immediately, let it cool, and reduce heat before trying again.
- Never leave a clamped waffle iron unattended while hot. Without waffle batter absorbing thermal energy, the plates can overshoot temperature and scorch fabric or ignite paper-based transfer material. Stay within arm's reach.
- If using a lamp dimmer for temperature control, verify it's rated for the waffle iron's wattage. Most waffle irons draw 800-1200W. A dimmer rated for 600W will overheat and potentially catch fire. Use a dimmer rated for at least the iron's wattage.