#303 — Instant Pot Vacuum Chamber
Your pressure cooker already handles pressure differentials. It just doesn't know it works in reverse.
Ratings
🧪 What Is It?
A vacuum chamber is a sealed container from which air has been removed. Labs use them for degassing epoxy and silicone (pulling dissolved air bubbles out of mixed resin before it cures), vacuum forming (sucking heated plastic sheet tight against a mold), dehydrating samples at low temperature (boiling point drops with pressure — water boils at room temperature in a strong enough vacuum), and dozens of other tasks that require air to go away. Commercial vacuum chambers start at $80 for a thin-walled aluminum pot and climb into the thousands for anything with a sight glass and proper fittings. They're all fundamentally the same thing: a strong sealed vessel with a port for a vacuum pump.
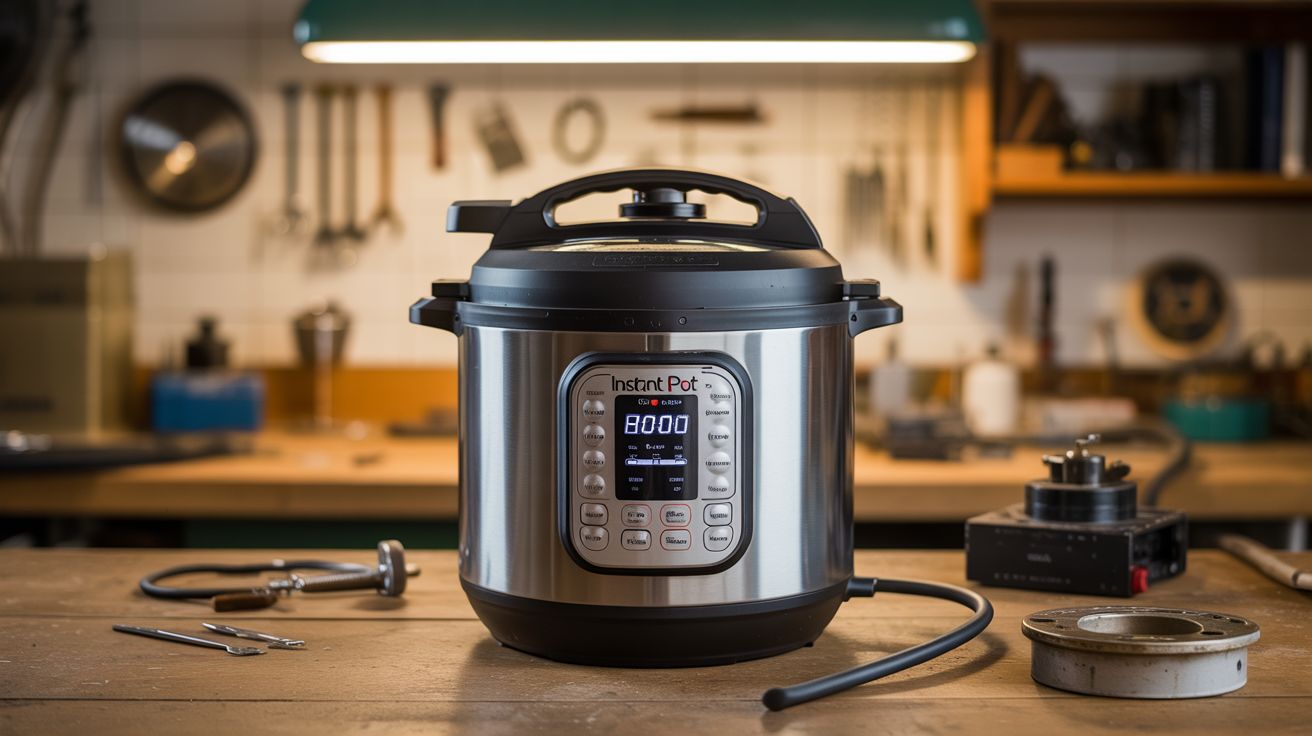
An Instant Pot is a strong sealed vessel with a port on top. The stainless steel inner pot handles pressure differentials — that's literally its design spec. The lid locks against a silicone gasket rated for pressure in both directions. The steam vent on top is a removable valve with a standardized hole size. Replace that valve with a hose barb fitting connected to a vacuum pump, and you've reversed the direction of the pressure differential. Instead of holding steam pressure in, the pot holds atmospheric pressure out. Same physics, same gasket, same locking mechanism. The pot doesn't care which side has more pressure.
The modification is almost disappointingly simple. Unscrew or remove the steam release valve, thread or epoxy a vacuum-rated hose barb into the hole, connect a length of thick-walled silicone tubing to a hand vacuum pump or small electric vacuum pump, and pull vacuum. The lid gasket seats against the rim and holds. The locking mechanism prevents the lid from lifting under the external atmospheric pressure trying to push it inward. You end up with a usable vacuum chamber that reaches 25–28 inHg of vacuum (depending on your pump) for the cost of a thrift store Instant Pot and a $25 brake bleeder hand pump. A proper lab vacuum chamber with comparable volume runs $150–400.
🧰 Ingredients
- Electric pressure cooker — Instant Pot or similar with locking lid and removable steam valve (thrift store, $8–15)
- Vacuum pump — hand-operated brake bleeder pump works fine; electric pump for sustained vacuum (auto parts store, $15–25 for hand pump; $35–50 for electric)
- Hose barb fitting — 1/4" barb, threaded to match the steam valve port or sized to friction-fit into the valve hole (hardware store, $2–3)
- Thick-walled silicone tubing — 1/4" ID, vacuum-rated (regular tubing collapses under vacuum) (hardware store, $3–5 for 3 feet)
- Vacuum gauge — 0–30 inHg, inline or tee-mounted to monitor chamber pressure (auto parts store, $8–12)
- Thread sealant tape or high-vacuum silicone sealant — for airtight fitting connections (hardware store, $2)
- Hose clamps — to secure tubing on barb fittings (hardware store, $1–2)
- Optional: clear acrylic disc cut to lid size — replaces the metal lid for a sight glass so you can watch degassing happen (plastics supplier, $10–15)
🔨 Build Steps
-
Choose the right pressure cooker. You want a model with a removable steam release valve — most Instant Pot models have a pop-out valve on top of the lid that lifts straight out. Examine the hole it leaves behind. Measure the diameter. Models with a simple round hole are ideal because a hose barb fitting can thread directly in or be sealed with silicone. Avoid models where the valve mechanism is integrated into a complex assembly — you want a clean, simple port. The 6-quart size is the sweet spot: enough volume to degas a reasonable batch of resin while staying small enough for a hand pump to evacuate efficiently.
-
Remove the steam valve and anti-block shield. Pull out the steam release valve from the top of the lid. On most models, it lifts straight out. Also remove the small anti-block shield (the little metal cap on the underside of the lid). Clean the valve port thoroughly — any residue or debris will prevent a good seal with your new fitting.
-
Install the vacuum port fitting. Thread or press-fit a 1/4" hose barb into the steam valve hole. If the hole is slightly oversized, wrap the barb threads with PTFE tape and add a bead of high-vacuum silicone sealant around the base. If the hole is too small, drill it out carefully — stainless steel lids drill cleanly with a step drill bit and cutting oil. The barb should point straight up from the lid and be completely airtight. Let any sealant cure for 24 hours before testing.
-
Connect the vacuum line. Slide thick-walled silicone tubing over the hose barb and secure it with a hose clamp. Thin-walled tubing collapses immediately under vacuum and chokes off airflow — this is the most common reason homemade vacuum setups fail. Use tubing rated for vacuum service or at minimum use thick-walled (1/8" wall thickness) silicone. Run the tubing to a tee fitting: one branch goes to your vacuum gauge, the other to the vacuum pump.
-
Install the vacuum gauge. Mount the gauge inline between the chamber and the pump using a tee fitting and short tubing runs. The gauge tells you how much vacuum you've pulled and whether the chamber is holding or leaking. Without it, you're guessing. A good seal on an Instant Pot should let you pull 25+ inHg with a hand pump and hold it with less than 1 inHg drop per minute after you stop pumping.
-
Test for leaks. Close the lid and lock it — use the normal Instant Pot locking rotation. Make sure the silicone gasket is seated properly in the lid ring. Pump down to 20 inHg and stop pumping. Watch the gauge for 5 minutes. If pressure rises steadily, you have a leak. Check: the hose barb fitting seal, hose clamp tightness, the lid gasket (try wetting it slightly with water — this improves the initial seal), and the tubing itself. Instant Pot gaskets are designed for this job and usually seal on the first try. If your gasket is old and compressed, buy a replacement — they're $8 and the seal quality difference is dramatic.
-
Degas resin or silicone. Mix your two-part resin or silicone per the manufacturer's instructions. Pour it into a container no more than 1/3 full (it will foam up dramatically under vacuum as dissolved air expands). Place the container in the Instant Pot on top of the trivet to keep it stable. Lock the lid and pump down to 25+ inHg. Watch through the sight glass (if you made one) or wait 5–10 minutes. The resin will foam up as bubbles expand and rise to the surface, then collapse back down as the air escapes. When the foaming stops, slowly release the vacuum through the pump's bleed valve. The resin is now bubble-free and ready to pour into molds.
-
Vacuum form small parts. Build a simple forming platform that fits inside the pot: a flat plate with small holes drilled through it, elevated on standoffs above the pot bottom. Place a mold on the plate. Heat a thin sheet of PETG, styrene, or ABS with a heat gun until it droops, lay it over the mold, close the lid, and pump. Atmospheric pressure pushes the softened plastic tight around the mold while the vacuum pulls air out through the holes in the platform. Release, trim, and you've got a formed part. Size is limited to whatever fits inside the pot — about 6" diameter — but that covers phone cases, small enclosures, chocolate molds, and cosplay armor detail pieces.
-
Low-temperature dehydration. Water boils at 133°F at 25 inHg of vacuum instead of the usual 212°F. Put herbs, fruit slices, or flowers on the trivet inside the pot, seal it, and pump down. The residual ambient heat in the room is enough to slowly evaporate moisture from the samples. It takes longer than a heated dehydrator but preserves volatile oils, colors, and flavors that high-temperature dehydration destroys. Lavender dried this way smells noticeably better than oven-dried — the essential oils stay put instead of evaporating off.
⚠️ Safety Notes
- Never use a cracked, dented, or damaged inner pot. Pressure differentials stress the vessel walls — a weakened pot under vacuum could implode inward, sending stainless steel fragments into the chamber contents. Inspect before every use.
- The locking lid is under significant inward force when vacuum is applied. Do not attempt to force the lid open while under vacuum. Always release vacuum fully through the bleed valve before unlocking. The lid will not open easily under vacuum — this is the safety mechanism working correctly, not a malfunction.
- Resin and silicone foam up 3–5x their resting volume during degassing. A container filled more than 1/3 full will overflow and coat the inside of your chamber with uncured resin. Clean up uncured epoxy from stainless steel before it cures — cured epoxy in a vacuum chamber is a permanent roommate.
- If using an electric vacuum pump, never run it against a sealed system for extended periods without a bleed valve or pressure switch. Pumps overheat when they can't move air. A $5 inline pressure switch from the auto parts store protects a $40 pump.
- Degassing solvents or volatile chemicals in a vacuum chamber rapidly accelerates their evaporation. Only degas materials in well-ventilated spaces and never degas flammable solvents near ignition sources.