#015 — Giant Plasma Globe
A microwave transformer, a glass bowl, and some noble gas — build a plasma globe the size of a basketball.
Ratings
🧪 What Is It?
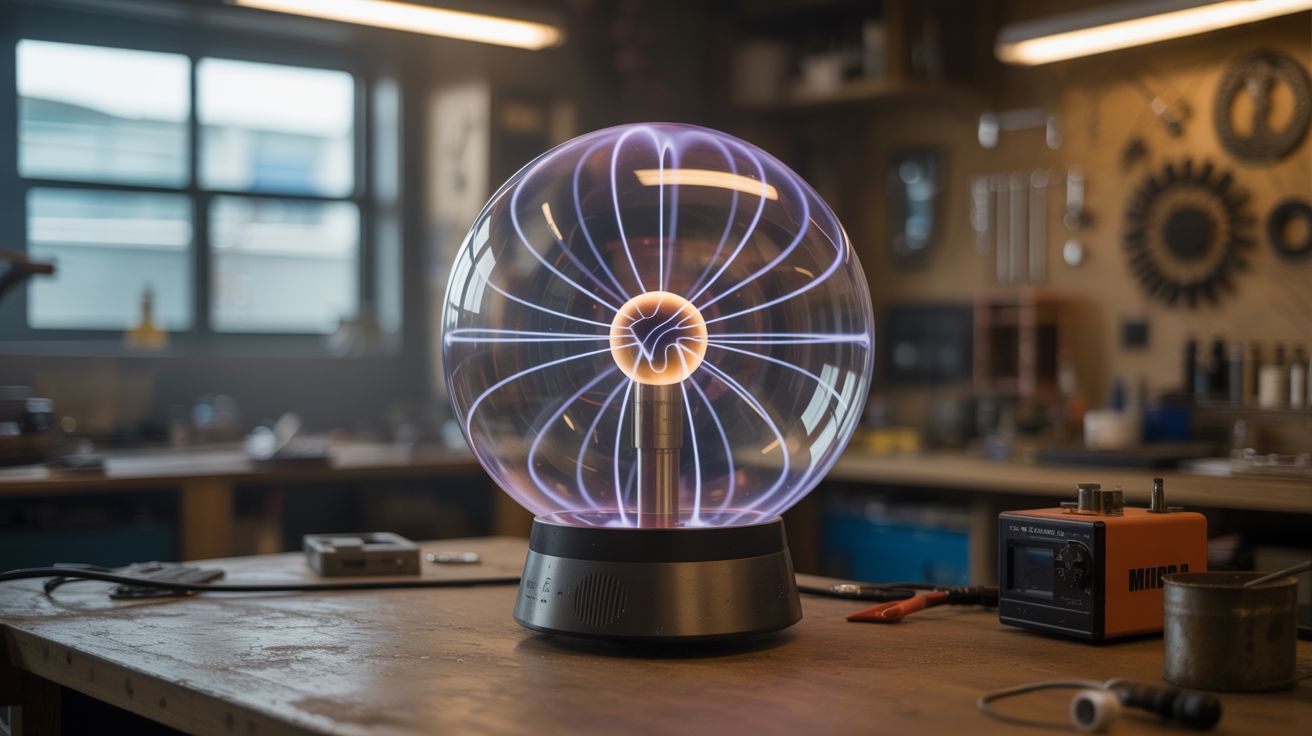
Commercial plasma globes are limited to 6-8 inch spheres because bigger ones need more voltage and better vacuum equipment. But with a microwave oven transformer and some creativity, you can build a plasma globe the size of a mixing bowl or fish bowl — 12 inches or more across. The tendrils of plasma are proportionally larger and more dramatic, reaching out to touch anything conductive (including your hand through the glass).
The principle is identical to a store-bought plasma globe: a central electrode drives high-frequency, high-voltage AC into a partial vacuum inside a sealed glass sphere. The low-pressure gas ionizes into plasma filaments that reach from the central electrode toward the grounded outer glass surface. Touching the glass concentrates the filaments at that point because your body provides a ground path.
🧰 Ingredients
- Microwave oven transformer (MOT) (source: dead microwave, free)
- Large round glass bowl, fishbowl, or globe light fixture, 10-14 inches (source: thrift store, ~$5-10)
- Central electrode — steel ball, door knob, or bolt (source: hardware store, ~$3)
- Vacuum hand pump with gauge (source: automotive brake bleeder, ~$15)
- Silicone sealant for vacuum seals (source: hardware store, ~$5)
- Variac for power control (source: online, ~$15-25)
- Noble gas fill — neon or argon (optional — low-pressure air works too) (source: neon sign supply or welding supply, ~$10-20)
- Wooden base and mounting hardware (source: scrap wood)
- 14-gauge wire, rubber mat, kill switch (source: hardware store)
🔨 Build Steps
-
Select and prepare the glass vessel. Find the largest spherical or near-spherical glass container you can. Fishbowls, round light fixtures, and large brandy snifters work. The glass needs to be thick enough to handle a partial vacuum without imploding. Avoid thin decorative glass. Check for chips or cracks — reject any imperfect glass.
-
Build the central electrode. The electrode sits at the center of the globe and is the source of all the plasma tendrils. A steel ball bearing, doorknob, or polished bolt head works. Mount it on a steel rod that passes through the base of the globe. The smoother and rounder the electrode, the more evenly the plasma distributes.
-
Prepare the base. Build a wooden base with a hole for the electrode rod and a port for the vacuum line. The glass globe sits on this base. Seal the glass-to-base joint with silicone sealant — it needs to hold a partial vacuum. Let the sealant cure 24 hours.
-
Install the vacuum port. Add a small valve or brass fitting through the base for pulling vacuum. A tire valve stem works and lets you seal it easily after evacuation.
-
Wire the MOT. For plasma globes, you need high-frequency AC, not the 60Hz wall frequency. Drive the MOT through a solid-state inverter or use the MOT primary rewound for higher frequency. Alternatively, use two MOTs — one as a step-up, one as a ballast. Connect the high-voltage output to the central electrode. The return connects to a conductive coating or wire mesh on the outer surface of the glass (or just let it find ground through the air).
-
Pull vacuum. Evacuate most of the air from the sealed globe. You want roughly 1-10 torr. The exact pressure determines the plasma character. Lower pressure = longer, thinner tendrils. Higher pressure = shorter, fatter tendrils. If you have noble gas, backfill with a small amount after pulling vacuum — neon gives orange/red, argon gives purple/blue.
-
Test at low power. Start the variac from zero and bring the voltage up slowly. At some threshold, the gas will break down and plasma tendrils will appear from the central electrode. They should reach toward the glass wall uniformly. If they cluster on one side, your electrode isn't centered or the vacuum is uneven.
-
Touch test. Place your hand on the outside of the glass. The plasma tendrils should concentrate and follow your hand. This works because your body provides a capacitive ground path. The bigger the globe, the more dramatic this effect is — on a 12-inch globe, the tendrils can be 6 inches long.
-
Seal and finish. Once you're happy with the plasma behavior, seal the vacuum port permanently. Mount the variac inside the base so you can adjust brightness. Add a power switch and clean up the wiring.
⚠️ Safety Notes
Spicy Level 4 build. Read the Safety Guide before starting.
[!CAUTION] MOTs are lethal. The same warnings from every MOT project apply — 2,000V+ at lethal current. Never touch anything on the high-voltage side while powered. Use a remote kill switch. Work on a rubber mat. One hand rule.
- Glass under vacuum can implode. Use only thick, undamaged glass. Wear safety glasses during initial testing. If you hear any cracking sounds, kill power and evacuate the area — an imploding glass sphere throws shrapnel.
- UV and ozone. The plasma discharge produces UV light and ozone. Don't stare at bright tendrils for extended periods. Ventilate the room if you run it for more than 10-15 minutes at a time.
🔗 See Also
- Plasma Tornado Lamp — plasma in a vortex instead of a sphere
- Plasma Speaker — plasma that plays music