#173 — Fiber Optic Star Ceiling
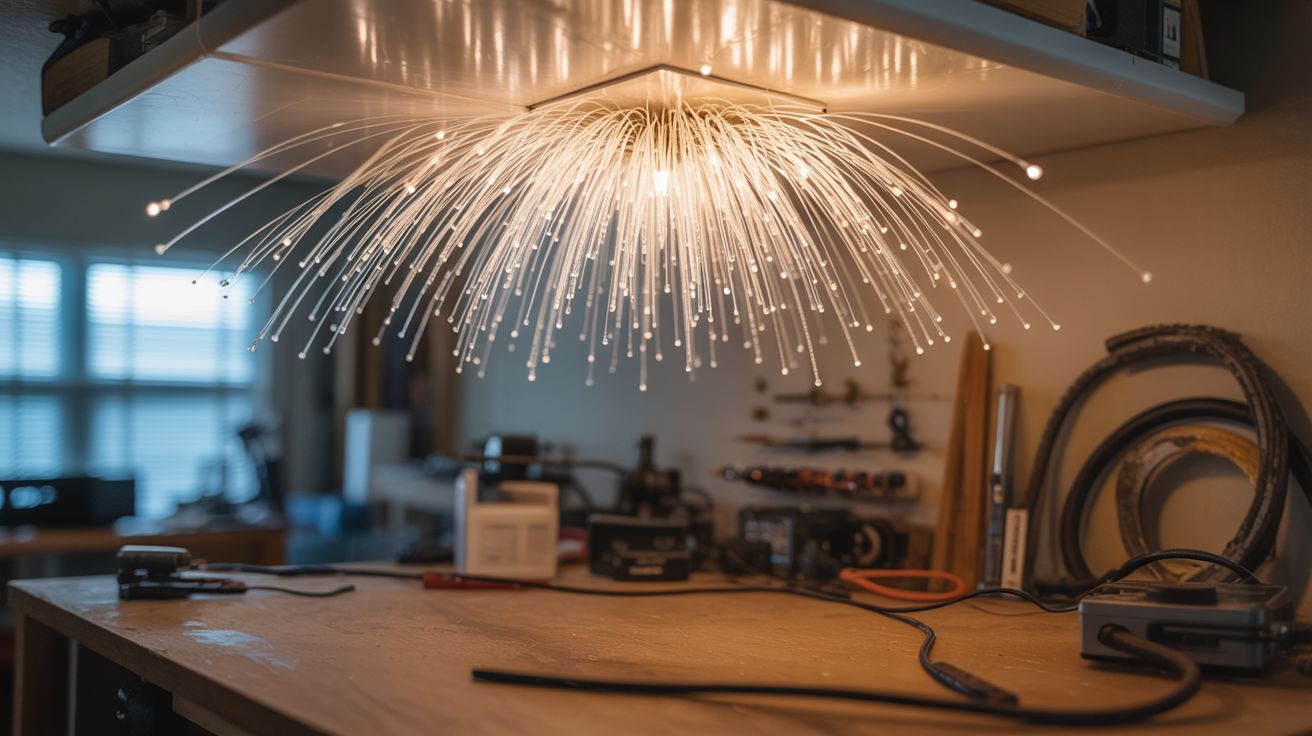
Hundreds of fiber optic strands poked through a ceiling panel create a realistic night sky in your bedroom — complete with twinkling.
Ratings
🧪 What Is It?
A fiber optic star ceiling pushes hundreds (or thousands) of thin fiber optic strands through a ceiling panel or painted surface. A single bright LED or halogen light source behind the panel feeds light into all the fiber bundles simultaneously. Each fiber tip on the visible side glows as a tiny point of light — a "star." By varying fiber thickness, you create brighter and dimmer stars. By adding a slowly rotating color wheel or perforated disc in front of the light source, the stars twinkle and shift color just like a real night sky.
This is a permanent installation that transforms a bedroom, home theater, or bathroom ceiling into a planetarium. At night with the main lights off, you lie in bed and look up at what genuinely looks like a starfield. It's one of the most impressive home improvement projects possible, and once installed, it works for decades.
🧰 Ingredients
- Fiber optic strands — 0.5mm to 2mm diameter, 200-1000+ strands (source: fiber optic star ceiling kit online ~$20-40, or bulk fiber optic cable stripped for individual fibers)
- Ceiling panel — existing drywall ceiling, drop ceiling tile, or a separate painted panel (source: existing ceiling or foam board panel, ~$5-10)
- Light source/illuminator — high-brightness white LED (5-10W) with heatsink (source: online or salvaged from a flashlight, ~$5-10)
- Slowly rotating perforated disc for twinkle effect (source: small motor + cardboard disc with random holes, ~$3)
- Dark paint — navy or black ceiling paint (source: hardware store, ~$8)
- Hot glue gun (source: around the house or dollar store, ~$3)
- Pin or small drill bit for making holes (source: around the house)
- Star chart or random pattern template (source: print one online, free)
🔨 Build Steps
-
Plan the star pattern. Print a star chart of a familiar constellation region (Orion, Big Dipper, Milky Way) or create a random scatter pattern. Mark the positions on your ceiling or panel. Vary the density — more stars in some areas creates a realistic "galactic band" effect. Plan for 200-1000 fiber points depending on your ambition level.
-
Paint the ceiling dark. The visible side of the ceiling or panel should be painted dark navy blue or black. This is essential — light-colored surfaces wash out the tiny fiber points. If working on an existing ceiling, paint the area where the stars will go. Let it dry completely.
-
Poke the holes. From the back side (above the ceiling), poke or drill a tiny hole at each marked star position. The holes should be just large enough for the fiber to push through snugly. For a freestanding panel, work on a table before mounting.
-
Thread the fibers. Push one fiber optic strand through each hole from the back, letting about 1/4 inch protrude from the front (visible side). This is the tedious part — with 500+ fibers, budget several hours. Work in sections. Use different diameter fibers for variety: thicker fibers (1-2mm) become bright "first magnitude" stars; thin fibers (0.5mm) become dim background stars.
-
Secure the fibers. On the back side, hot-glue each fiber in place once it's positioned. The glue holds the fiber at the right protrusion depth and prevents it from sliding. Don't glue the front side — you'll trim and finish those later.
-
Bundle the fiber ends. Gather all the back-side fiber ends into a single bundle. Bind the bundle tightly with tape or a hose clamp. Cut all the back ends flush so they form a flat face. This flat bundle face will sit directly against the light source, receiving illumination.
-
Build the illuminator. Mount your high-brightness LED in a small housing (PVC coupling, film canister, or 3D-printed enclosure). Position the fiber bundle face directly against the LED. The LED illuminates the fiber ends, and the light travels through each fiber to its star point on the ceiling.
-
Add twinkle effect. Mount a small, slow-spinning motor between the LED and the fiber bundle. Attach a cardboard disc with random holes and slots to the motor shaft. As it rotates, it intermittently blocks light to different fibers, creating realistic twinkling. A rotation speed of 1-3 RPM is ideal — slow enough to look natural.
-
Trim and finish. On the visible side, trim the protruding fiber tips flush with the ceiling surface (or leave them protruding 1-2mm for slightly brighter points). A sharp blade and a gentle touch. Test in the dark — turn on the illuminator and enjoy your star field.
-
Mount and wire. If using a panel, mount it on the ceiling with cleats or brackets. Route the illuminator power cable neatly. Add a dimmer switch for the LED if you want adjustable brightness. The motor for twinkle needs its own low-voltage supply.
⚠️ Safety Notes
[!WARNING] Ladder safety. If working on an actual ceiling, you'll spend hours on a ladder. Use a proper step ladder with a stable platform, not a chair. Have someone spot you during the long fiber-threading sessions.
- Fiber optic strands can poke and scratch. When handling bundles of cut fiber, the tips are small and pointy. Wear gloves during threading. Don't rub your eyes after handling fibers.
- Heat management. If using a halogen bulb instead of LED, it generates significant heat in a closed space above your ceiling. LEDs are strongly recommended — they run cool and last virtually forever. Never use a halogen bulb against flammable material like foam panels or insulation.
🔗 See Also
- Infinity Mirror Table — another LED installation that transforms a room
- UV Reactive Water Wall — another permanent installation using light effects