#183 — Hydraulic Robot Arm
Syringes and tubing do the heavy lifting — literally — no motors or electricity needed.
Ratings
🧪 What Is It?
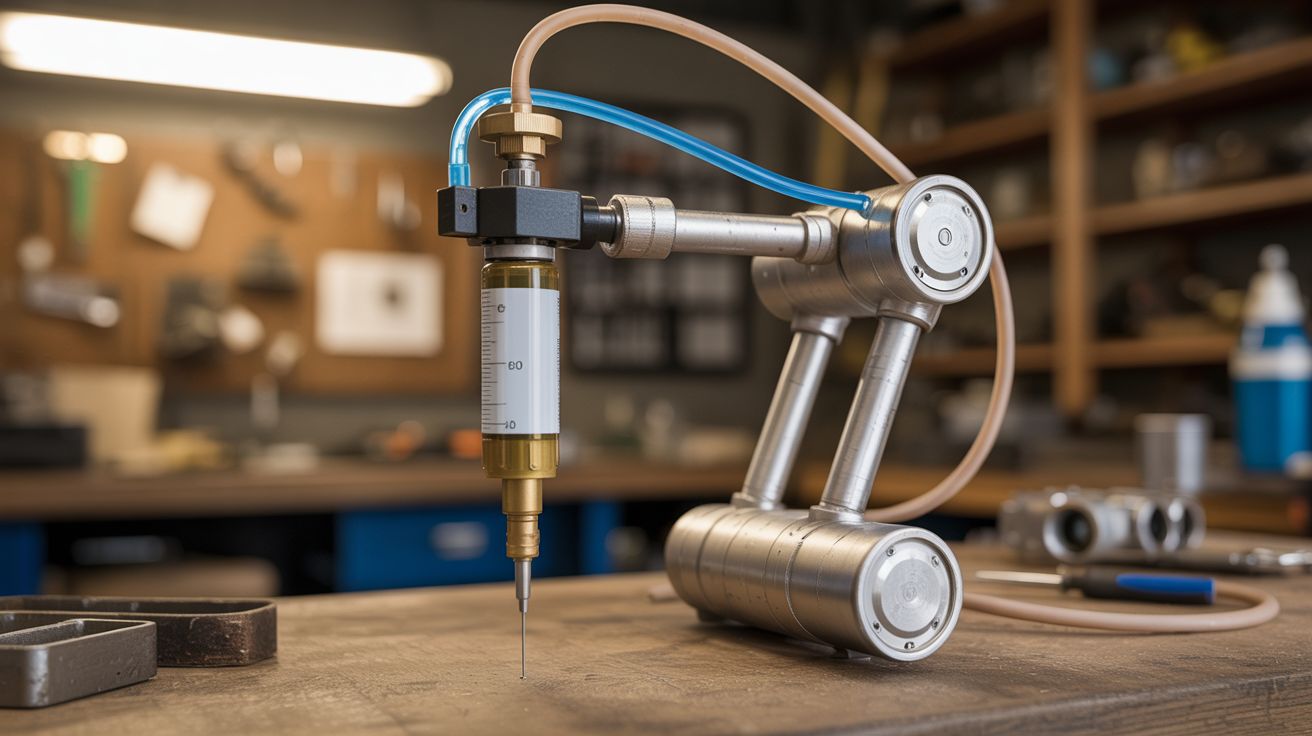
A multi-jointed robotic arm controlled entirely by hydraulic pressure from syringes connected by plastic tubing. Push one syringe, the paired syringe extends, and the arm moves. Each joint gets its own syringe pair, giving you independent control of rotation, lift, and grip — all with your fingers and water pressure.
This is Pascal's law made tangible: pressure applied to a confined fluid transmits equally in all directions. By using different syringe sizes on each end of a line, you can even get mechanical advantage — a small syringe pushing a large one gives you force multiplication, just like a real hydraulic excavator.
🧰 Ingredients
- 8 plastic syringes, mix of 10ml and 20ml (source: pharmacy, pet supply store, or Amazon — ~$5 for a pack)
- Flexible vinyl tubing, 3-4 feet, sized to fit syringe tips (source: aquarium supply or hardware store)
- Popsicle sticks, tongue depressors, or thin plywood strips for arm segments (source: craft store or scrap wood)
- Small bolts, nuts, and washers for pivot joints (source: hardware store)
- Hot glue gun and sticks (source: craft store)
- Binder clips or small spring clamps for the gripper (source: office supply)
- Scrap wood block for the base (source: scrap pile)
- Water (tap water works; add food coloring to see flow) (source: sink)
🔨 Build Steps
-
Plan your joints. Decide how many degrees of freedom you want. A basic arm has 3: base rotation, elbow lift, and gripper open/close. Each joint needs one syringe pair. Four joints (add a shoulder) is the sweet spot for capability vs. complexity.
-
Build the base. Mount a lazy susan bearing (or a bolt through a wood block as a pivot) on a heavy base. Attach a syringe to the rotating platform and its partner to the fixed base. Pushing the control syringe rotates the entire arm.
-
Construct the arm segments. Cut popsicle sticks or thin plywood into arm sections — an upper arm (4-6 inches) and forearm (4-6 inches). Connect them at the elbow with a bolt and nut, loose enough to pivot freely.
-
Mount the lift syringes. Hot-glue one syringe of a pair along the upper arm and attach the plunger tip to the forearm segment at the elbow joint. When the paired control syringe is pushed, the elbow bends. Repeat for the shoulder joint if you're adding one.
-
Build the gripper. Use two popsicle sticks as jaws, pivoting at a central bolt. Attach a syringe so that extending the plunger pushes the jaws open (or closed — pick whichever default state you prefer). Rubber band the jaws for return spring action.
-
Fill the hydraulic lines. Submerge the tubing and both syringes of each pair in water. Fill them completely, pushing all air bubbles out. Air in the lines makes the action spongy and unreliable. Cap or crimp the tubing while underwater, then connect to the syringes.
-
Route the tubing. Run tubing from each control syringe (mounted on a control panel at the base) to its corresponding joint syringe on the arm. Use tape or small clips to keep tubing tidy and prevent kinks. Kinked tubing = dead joint.
-
Build the control panel. Mount all the control syringes in a row on a wooden block at a comfortable angle. Label each one (base, shoulder, elbow, grip). This is your operator station.
-
Test and adjust. Fill a cup with small objects (marbles, erasers, candy) and practice picking them up and moving them. If a joint is sluggish, check for air bubbles or tubing kinks. If a joint is too weak, upsize the syringe on the arm end (smaller control syringe pushing a bigger one = more force).
⚠️ Safety Notes
[!WARNING] Syringe tips. If using syringes with needle adapters, remove and discard any needles immediately. The blunt luer-lock tips are all you need for tubing connections.
- Water leaks. The system is low-pressure, but connections can pop loose and squirt water. Not dangerous, but keep electronics and papers away from the work area.
- Pinch points. The gripper can pinch fingers if the hydraulic line is pressurized suddenly. Keep fingers clear of the jaws during operation.
🔗 See Also
- Trebuchet — mechanical advantage on a much larger and more violent scale
- Ball Bearing Motor — the simplest possible motor if you want something that moves with zero complexity