#123 — Smart Mirror
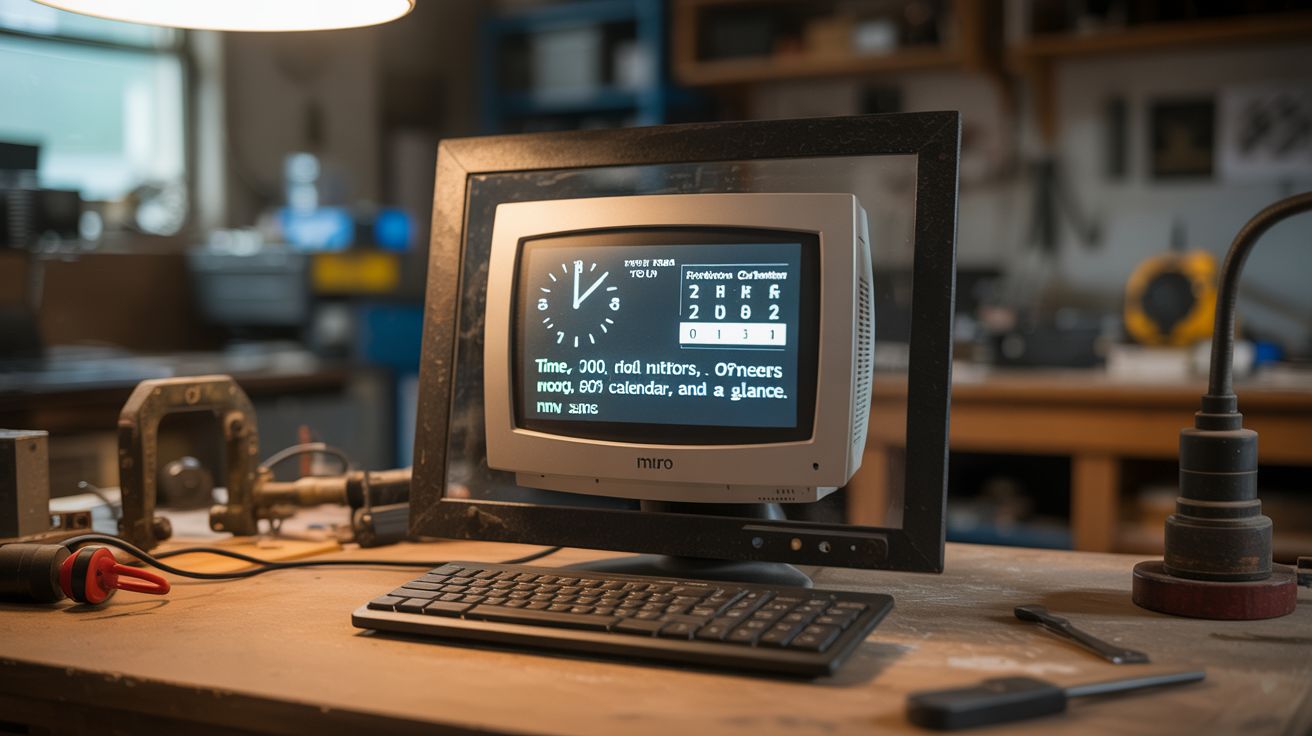
An old monitor behind one-way mirror glass, running a Pi with MagicMirror² — time, weather, calendar, and news at a glance.
Ratings
🧪 What Is It?
A smart mirror looks like a normal mirror until it turns on — then text and graphics appear to float on the mirror surface. Time, date, weather forecast, calendar events, news headlines, commute time, even Spotify now-playing. The trick is a one-way mirror: reflective on the front, transparent from behind. Mount a monitor behind it with a dark background, and only the lit pixels shine through the glass. Everything else reflects like a normal mirror. A Raspberry Pi runs MagicMirror², an open-source platform with hundreds of community modules. The whole build costs a fraction of commercial smart mirrors that retail for $500+.
🧰 Ingredients
- Old LCD monitor — thinner is better, 19-24 inch (e-waste, thrift store)
- Raspberry Pi 3 or 4 (electronics supplier)
- One-way mirror glass or film — acrylic mirror sheet or mirror window film on glass (online, glass supply, hardware store)
- Picture frame or custom frame — sized to the monitor (thrift store, lumber)
- HDMI cable (junk drawer)
- MicroSD card 16GB+ with Raspberry Pi OS (electronics supplier)
- USB keyboard and mouse — for initial setup (junk drawer)
- Power strip — for Pi and monitor (hardware store)
- Wood or MDF — for frame backing (hardware store)
🔨 Build Steps
- Disassemble the monitor. Remove the plastic bezel and stand from the LCD panel. You want the bare panel as thin as possible. Keep the driver board and power supply attached — just remove the decorative housing. Note the panel dimensions.
- Build or modify the frame. The frame needs to hold the one-way mirror on the front and the LCD panel behind it. Build a shadow box frame from wood or MDF, or modify a large picture frame. The frame depth needs to accommodate the monitor panel plus the Pi.
- Install the one-way mirror. Cut the acrylic mirror sheet to fit the frame opening, or apply mirror window film to a piece of glass cut to size. Acrylic mirror sheets give better results than film. The mirror side faces outward; the transparent side faces the monitor.
- Mount the monitor panel. Secure the bare LCD panel behind the one-way mirror inside the frame. Center it carefully — any offset means the display isn't aligned with the mirror. The panel should be as close to the mirror as possible for a sharp image.
- Set up the Pi. Flash Raspberry Pi OS onto the MicroSD card. Boot the Pi, connect to WiFi, and install MagicMirror² following the official documentation. The installation is mostly automated with curl scripts.
- Configure modules. Edit the MagicMirror² config file to add and position modules: clock, weather (needs a free API key from OpenWeatherMap), calendar (Google Calendar iCal URL), news feeds (RSS URLs), and compliments. Position modules in corners and edges where they surround your reflection.
- Set the background to black. The key to the mirror effect is that black pixels = mirror. Only lit pixels show through the one-way glass. The MagicMirror² default theme is already white-on-black for this reason.
- Assemble everything. Mount the Pi inside the frame behind the monitor. Route the HDMI cable between them. Wire power for both the Pi and the monitor panel. Add ventilation holes in the frame back — the monitor generates heat.
- Mount on the wall. Hang the completed mirror on the wall in your bathroom, hallway, or bedroom. Plug it in and it boots automatically. From the front, it looks like a normal mirror with information floating on the surface.
- Add custom modules. The MagicMirror² community has modules for Spotify, Ring doorbell, voice control, face recognition (greets family members by name), package tracking, and hundreds more. Browse the module directory for ideas.
⚠️ Safety Notes
- One-way mirror acrylic can shatter if dropped. Handle with care during installation. Glass versions are heavier and more fragile — acrylic is recommended for wall mounting safety.
- The monitor and Pi generate heat inside the enclosed frame. Ensure adequate ventilation with holes or gaps in the frame back. Without airflow, components can overheat and fail or pose a fire risk.
- If mounting in a bathroom, keep all electrical connections above the splash zone. Consider a GFCI outlet. The monitor and Pi are not waterproof.