#127 — Auto Plant Watering
Soil moisture sensors trigger a pump through an Arduino relay — your plants water themselves and log the data.
Ratings
🧪 What Is It?
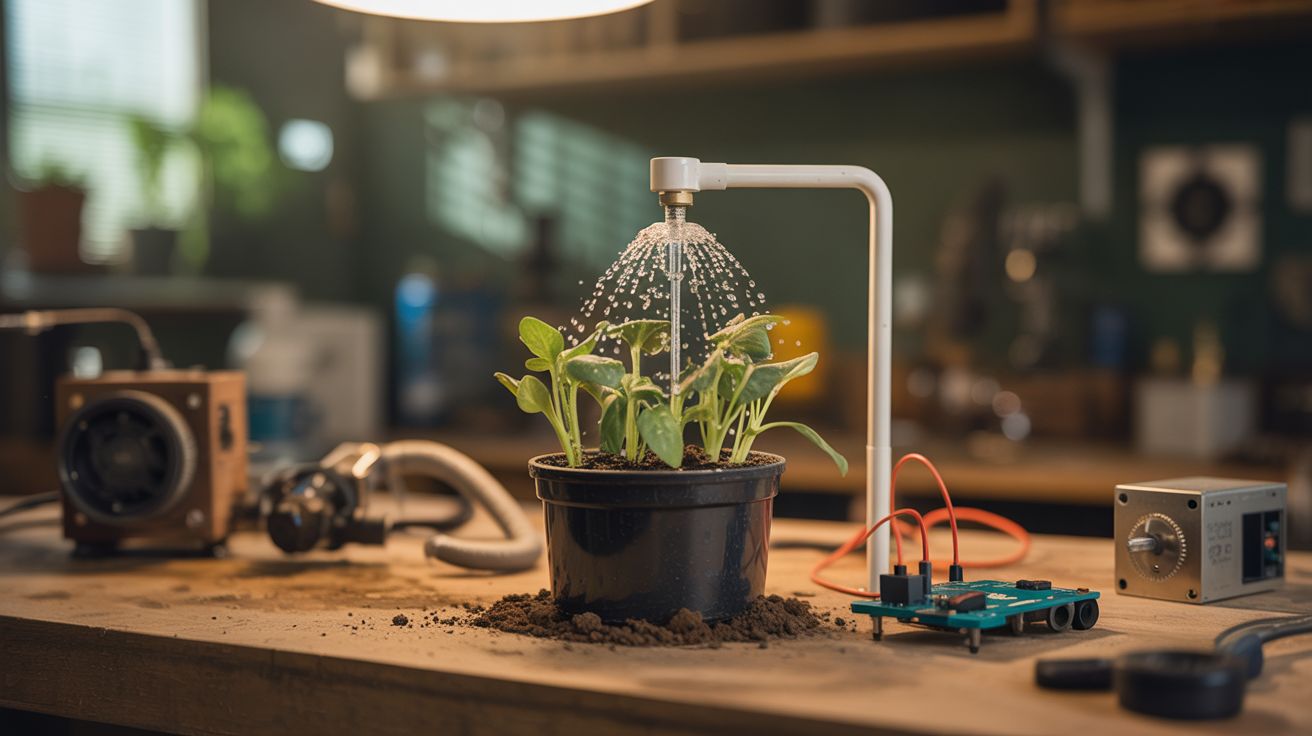
Plants die because people forget to water them. Solve this permanently with sensors and automation. Capacitive soil moisture sensors measure how wet the soil is. When the reading drops below a threshold, an Arduino triggers a relay that powers a small pump, which pulls water from a reservoir through tubing to the plant. The plant gets exactly the water it needs, exactly when it needs it. Add a Pi running a Flask web dashboard and you can monitor moisture levels, watering history, and reservoir status from your phone. Never kill a houseplant again.
🧰 Ingredients
- Arduino Nano or Uno (electronics supplier)
- Capacitive soil moisture sensors — one per plant (NOT resistive — they corrode) (electronics supplier)
- Small water pump — 3-6V submersible (electronics supplier, aquarium supply)
- Relay module — 1 channel per pump (electronics supplier)
- Silicone tubing — to route water from reservoir to plants (hardware store, aquarium supply)
- Water reservoir — bottle, bucket, or jug (kitchen)
- Raspberry Pi (optional) — for web dashboard (electronics supplier)
- Breadboard and jumper wires (electronics supplier)
- 5V power supply (old phone charger)
🔨 Build Steps
- Wire the moisture sensors. Connect each capacitive soil moisture sensor to an analog input on the Arduino. These sensors output a voltage proportional to soil moisture — higher voltage means drier soil. Calibrate by reading the sensor in dry air (max reading) and submerged in water (min reading).
- Set the threshold. Determine the moisture level at which each plant needs watering. Insert the sensor into properly watered soil and read the value — this is your "wet enough" threshold. The Arduino will trigger watering when the reading rises above this.
- Wire the relay and pump. Connect the relay module to a digital output pin. Wire the pump through the relay's normally-open contacts to a separate 5V power supply. When the Arduino activates the relay, the pump runs.
- Set up the water delivery. Place the pump in a water reservoir (a large bottle or bucket). Run silicone tubing from the pump output to each plant pot. Use Y-splitters or individual pumps for multiple plants. Secure the tubing so it drips into the soil, not onto the floor.
- Write the control code. The Arduino loop reads the sensor every few minutes, compares to the threshold, and runs the pump for a set duration (5-15 seconds per watering) if the soil is dry. Add a minimum interval between waterings to prevent overwatering from sensor noise.
- Add data logging (optional). Connect the Arduino to a Raspberry Pi via serial. A Python script on the Pi reads the sensor data and logs it to a CSV file or SQLite database. Build a simple Flask web dashboard that shows moisture graphs and watering history.
- Add reservoir monitoring. A float switch or water level sensor in the reservoir alerts you when it's time to refill. Without this, the pump runs dry when the reservoir empties, which can burn out the motor.
- Deploy and calibrate. Place sensors in each plant pot, route tubing, fill the reservoir, and let it run. Monitor for the first few days to ensure watering amounts and frequencies are correct. Adjust thresholds per plant based on species needs.
⚠️ Safety Notes
- Water and electronics are a dangerous combination. Keep all circuit boards and connections elevated above any water level. Use drip trays under plants. A single leak can destroy the Arduino and relay board.
- Submersible pumps should never run dry — the motor overheats without water for cooling. Always monitor reservoir levels and add a low-water shutoff.
- Capacitive moisture sensors are preferred over resistive ones because resistive sensors corrode in soil within weeks due to electrolysis. Capacitive sensors have a sealed surface and last indefinitely.