#131 — Pi DJ Controller
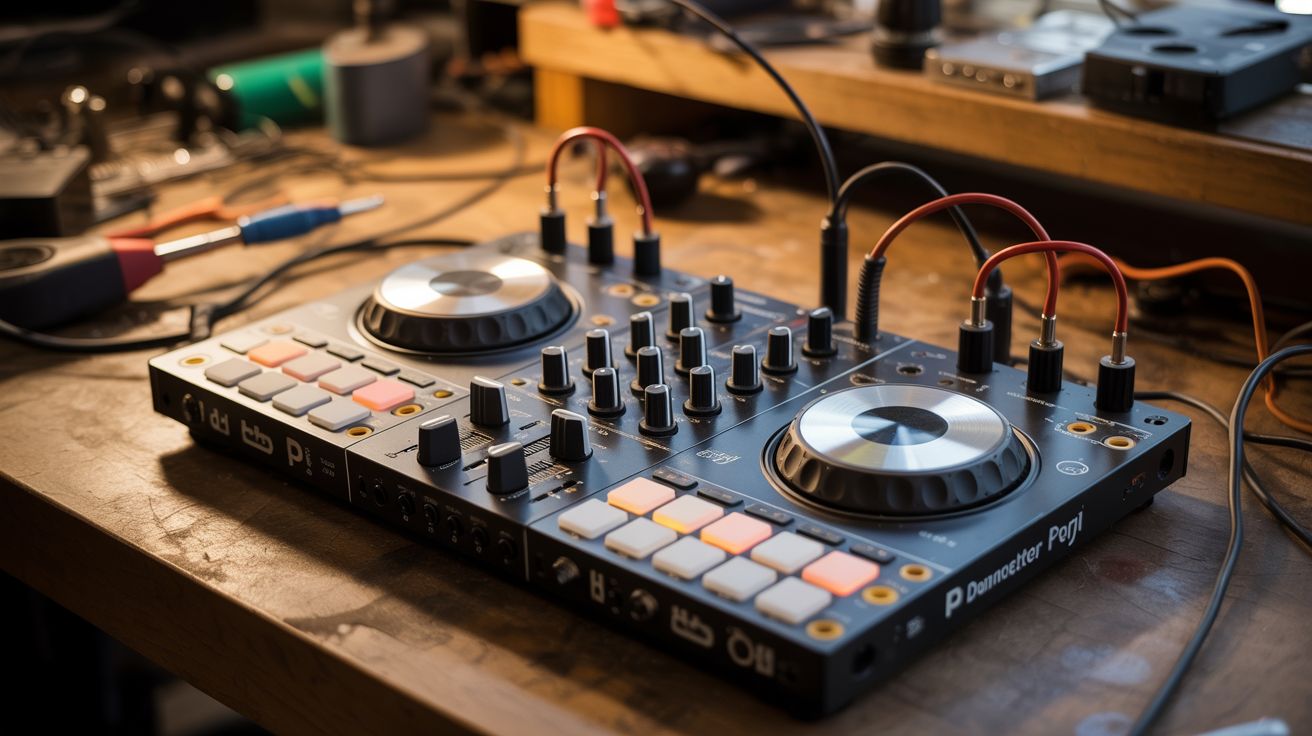
Rotary encoders, potentiometers, and buttons wired to a Pi running Python audio processing — a full DJ setup from e-waste.
Ratings
🧪 What Is It?
A DJ controller is just knobs, sliders, and buttons connected to audio software. Every one of those components exists in dead electronics — rotary encoders from old stereos, potentiometers from mixers and amplifiers, buttons from keyboards and remotes. Wire them to a Raspberry Pi running Python audio libraries (pydub, pygame, or Mixxx), and you have a fully functional DJ controller. Two virtual decks, crossfader, EQ knobs, cue buttons, and pitch control — all built from junk. The software handles beat detection, looping, and effects. The hardware gives you tactile control. Drop beats at your next party with a controller you pulled out of a dumpster.
🧰 Ingredients
- Raspberry Pi 3 or 4 (electronics supplier)
- Rotary encoders — 2, for jog wheels/track scrubbing (salvaged from old stereos, electronics supplier)
- Potentiometers/sliders — 5-8, for volume, EQ, crossfader (salvaged from old audio equipment)
- Push buttons — 8-12, for cue, play, loop, effects (salvaged, electronics supplier)
- MCP3008 ADC — to read analog pots on the Pi (electronics supplier)
- USB sound card — for better audio output quality (electronics supplier)
- Enclosure — project box, cigar box, or custom (thrift store, workshop)
- LED indicators — for beat sync, deck active, etc. (electronics supplier)
- Knob caps — from the same salvaged equipment (e-waste)
🔨 Build Steps
- Salvage components. Pull rotary encoders, pots, sliders, and knobs from dead stereos, mixers, and audio equipment. Test each one with a multimeter — pots should show smooth resistance change, encoders should produce clean clicks.
- Design the layout. Sketch the controller face: two jog wheels (encoders) on left and right, crossfader slider in the middle, EQ knobs above each deck, play/cue/loop buttons for each deck. Mark drill holes and cutouts on your enclosure.
- Build the control surface. Mount all components in the enclosure. Pots and encoders mount through drilled holes. Buttons through smaller holes. Sliders need rectangular cutouts. Attach salvaged knob caps for a professional look.
- Wire the analog controls. Potentiometers and sliders are analog — they output a variable voltage. Connect them to the MCP3008 ADC chip, which communicates with the Pi via SPI. The Pi reads each pot's position as a 0-1023 value.
- Wire the digital controls. Rotary encoders and buttons are digital — connect directly to the Pi's GPIO pins. Use pull-up resistors (or enable internal pull-ups) for clean signals. Encoders need two data pins each for direction detection.
- Install DJ software. For the simplest approach, install Mixxx (open-source DJ software) on the Pi. It handles audio loading, beat detection, mixing, and effects. For a custom solution, write Python scripts using pydub for audio manipulation and pygame for playback.
- Map controls to software. In Mixxx, use the MIDI mapping system to assign each physical control to a software function. If using custom Python, write a control loop that reads all inputs and adjusts playback parameters accordingly.
- Add visual feedback. Wire LEDs to GPIO outputs. Flash them on the beat (the software knows the BPM). Light up deck indicators, clipping warnings, and effect status. A small OLED display can show track info and waveforms.
- Test and perform. Load tracks, practice mixing, and refine the control mapping. Adjust dead zones on pots, encoder sensitivity, and button debounce timing until everything feels responsive and natural.
⚠️ Safety Notes
- Audio output should go through a proper amplifier to speakers. The Pi's built-in audio is noisy; use a USB sound card for cleaner output. Start at low volume to avoid blowing speakers with unexpected audio glitches.
- Salvaged potentiometers can be scratchy or have dead spots. Test each one thoroughly before mounting. A scratchy pot creates audio pops and clicks that can damage speakers at high volume.
- If using this at a live event, bring a backup audio source. Raspberry Pis can crash or freeze if pushed hard on audio processing. A phone with a DJ app makes a reliable backup.