#080 — Hand Drill Press
Hand drill + plywood column + drawer slides + spring return. Instant drill press for $0.
Ratings
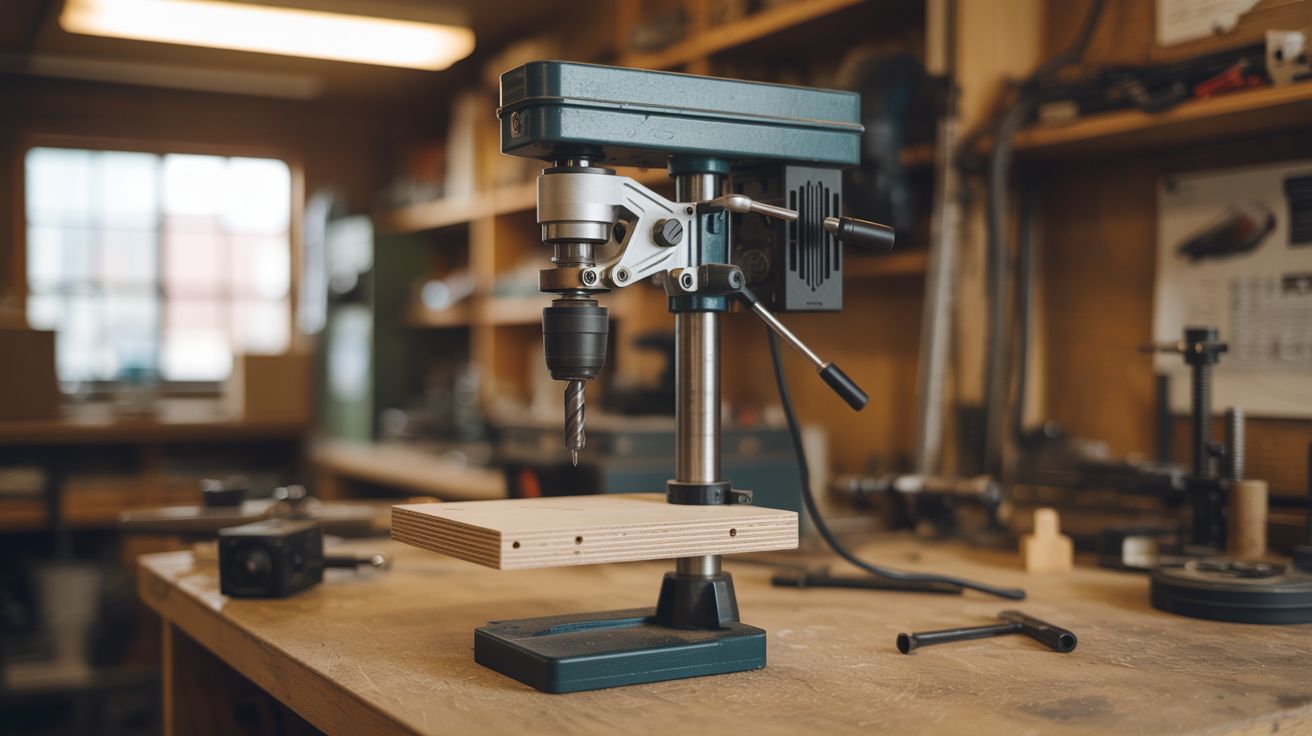
🧪 What Is It?
A drill press does one thing a hand drill can't: drill perfectly straight, perpendicular holes with consistent depth. The secret isn't the motor — it's the column and the linear bearing that keeps the drill aligned. Build a vertical column from plywood, add drawer slides (they're precision linear bearings designed for exactly this kind of motion), mount your hand drill to the sliding platform, add a spring for return action, and you have a drill press. It costs nothing if you have scrap wood and salvaged drawer slides, and it works surprisingly well. The drill clamps into the mount, so you can still use it as a hand drill any time.
🧰 Ingredients
- Hand drill — corded or cordless (already own)
- Plywood — 3/4" for the base, column, and drill mount platform (scrap pile)
- Drawer slides — full-extension ball bearing slides, one pair (salvage from old furniture, or ~$5 hardware store)
- Spring — for return action, or use a bungee cord (hardware store or junk drawer)
- Pipe clamp or U-bolt — to secure the drill to the platform (hardware store)
- Wood screws + wood glue (workshop)
- Optional: lever arm — for pulling the drill down (scrap wood)
🔨 Build Steps
- Build the base. Cut a 12"x12" (or larger) plywood base plate, at least 3/4" thick. This sits on the workbench and holds everything. A larger base is more stable. Screw and glue a fence or backing strip at the rear edge for the column to attach to.
- Build the column. Cut a vertical plywood column about 18-24" tall and 4-6" wide. This is the backbone of the drill press. Screw and glue it perpendicular to the base at the rear edge. Ensure it's perfectly vertical — use a square and check from both front and side.
- Mount the drawer slides. Attach one pair of full-extension ball bearing drawer slides vertically on the front face of the column. The fixed part of each slide screws to the column. The moving part will carry the drill platform. Space the slides evenly and ensure they're perfectly parallel and vertical.
- Build the drill platform. Cut a plywood platform (about 6"x8") that attaches to the moving parts of the drawer slides. This platform moves smoothly up and down on the column. Test the sliding action — it should be smooth with minimal play.
- Mount the drill. Attach the drill to the platform using a pipe clamp, U-bolt, or a shaped plywood cradle. The drill must be positioned so the bit points straight down, perpendicular to the base. The trigger should be accessible. Some builders add a zip-tie or clamp to hold the trigger on.
- Add the return spring. Attach a spring or bungee cord from the top of the column to the drill platform. This pulls the platform (and drill) back up when you release downward pressure — the same action as a real drill press's return spring.
- Add a lever (optional). Mount a lever arm pivoting from the column that connects to the drill platform. Pull the lever down to lower the drill. This gives you better control and mechanical advantage compared to just pushing the drill down by hand.
- Build a drill table. Attach a flat plywood work surface to the base, positioned under the drill bit. Add a sacrificial backer board that can be replaced when drilled through. Optionally, drill a grid of holes for clamp points.
- Test and adjust. Drill a test hole in scrap wood. Check that the hole is perpendicular by measuring with a square. If the hole is angled, shim the drill mount or adjust the column alignment until holes come out straight.
⚠️ Safety Notes
- Clamp your workpiece to the drill table. A drill press exerts significant downward force, and an unsecured workpiece can spin violently if the bit catches, especially in metal. Never hold work by hand when drilling with this setup.
- Ensure the drill is firmly mounted. If the clamp loosens under vibration and the drill shifts or falls, the spinning bit becomes a hazard. Check the mount before each use.