#082 — Circular Saw Table Saw
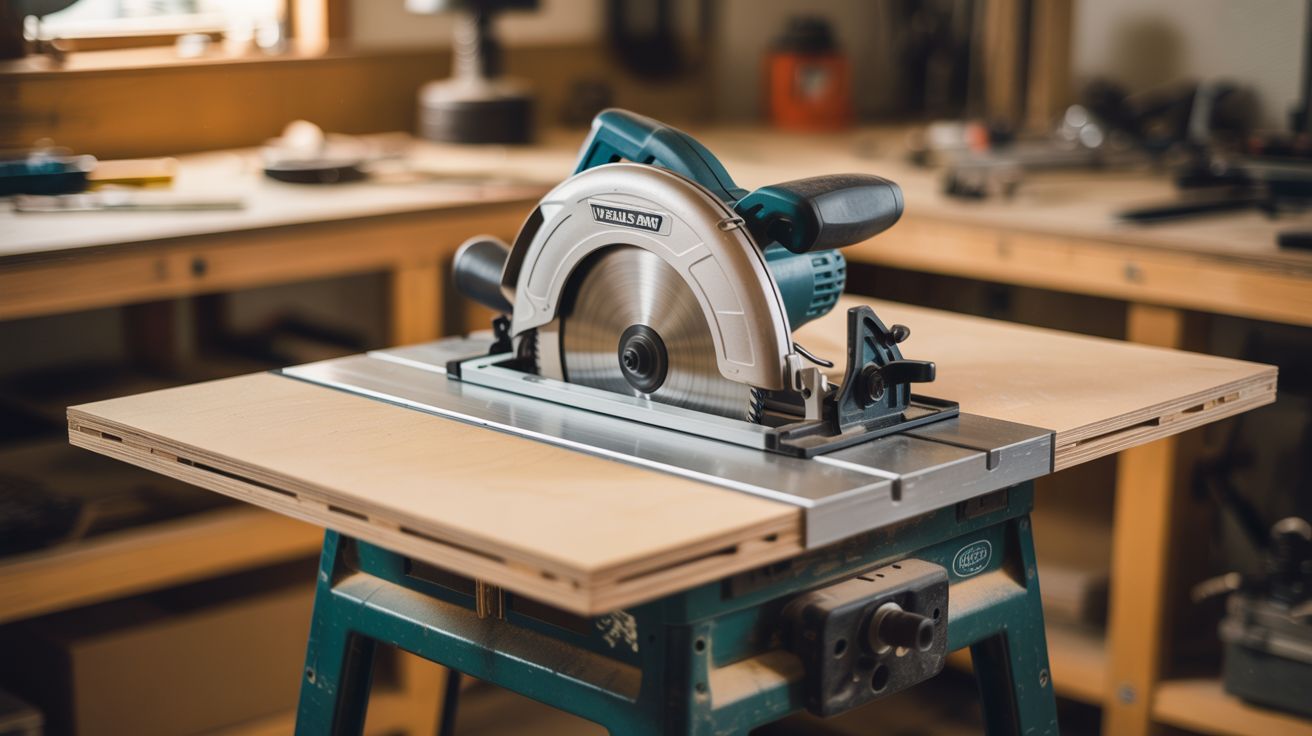
Circular saw inverted under a plywood table, blade through a slot. Add a fence. Budget table saw. Respect the blade.
Ratings
🧪 What Is It?
A table saw is just a circular saw mounted upside down under a flat table with the blade poking through a slot. That's it. The table provides a flat reference surface, the fence provides a parallel guide for rip cuts, and the inverted mounting means both hands are free to guide the workpiece instead of holding the saw. Build the table from 3/4" plywood, mount the circular saw underneath with the blade extending through a precise slot, add a straight fence that locks parallel to the blade, and you have a functional table saw for free. Commercial table saws cost $200-800. This one costs your time and attention to safety.
🧰 Ingredients
- Circular saw — 7-1/4" preferred (already own or thrift store)
- 3/4" plywood — at least 24"x36" for the table surface (hardware store)
- 2x4 lumber — for legs and frame (hardware store)
- Straight aluminum angle or flat bar — for the rip fence (hardware store)
- Bolts, washers, wing nuts — for mounting the saw and fence (hardware store)
- C-clamps or toggle clamps — for securing the fence (hardware store)
- Push sticks — MANDATORY, make from scrap wood (workshop)
- Optional: blade guard — fabricate from clear acrylic or sheet metal (workshop)
🔨 Build Steps
- Build the table frame. Construct a sturdy table from 2x4 legs and a 3/4" plywood top, sized at least 24"x36". The table must be flat and rigid — any flex or wobble is dangerous with a spinning blade. Make the table waist-height for comfortable work.
- Mark the blade slot. Place the circular saw upside down on the underside of the table top. Position it so the blade will be about 8-10" from one long edge (this is your rip capacity). Trace the blade path — you need a slot just barely wider than the blade kerf.
- Cut the blade slot. Drill a starter hole, then cut the slot with a jigsaw. Keep the slot as narrow as possible — a wide slot is a safety hazard (small offcuts can fall through and jam). The slot should be long enough for the blade to extend its full cutting depth above the table.
- Mount the circular saw. Secure the saw upside down to the underside of the table with bolts through the saw's base plate. The saw must be rigidly mounted — any movement during cutting is extremely dangerous. Use large washers and lock nuts. The blade should protrude about 1/4" above the height of the material you're cutting.
- Wire the saw. Secure the trigger in the ON position with a zip tie or clamp (the trigger lock feature on most saws helps here). Wire the power cord through a switch mounted on the front edge of the table for easy on/off access. This switch is your primary control — you need to be able to kill power instantly.
- Build the rip fence. Mount a straight piece of aluminum angle or flat bar parallel to the blade slot. The fence must be perfectly parallel to the blade — any angle causes binding and kickback. Use bolts in slots for adjustment, with clamps or wing nuts to lock the fence position. Check parallel with a tape measure at both ends.
- Make push sticks. Cut at least two push sticks from scrap wood — these keep your hands away from the blade while feeding material. A push stick should have a notch on one end to hook the workpiece edge and a comfortable grip on the other. ALWAYS use push sticks for cuts narrower than 6 inches.
- Add a blade guard (strongly recommended). Fabricate a clear acrylic or sheet metal guard that covers the blade above the table. Commercial table saws have riving knives and anti-kickback pawls — without these, your DIY table saw is more dangerous than a commercial one. At minimum, build a clear guard that prevents accidental hand contact with the blade.
- Test with scrap. Power on and cut a piece of scrap wood. Check: Is the cut straight? Is the blade height correct? Does the fence lock securely? Does the workpiece feed smoothly without binding? Fix any issues before real work.
- Establish safe work habits. Never stand directly behind the blade (kickback zone). Always use push sticks for narrow cuts. Never remove the fence during a rip cut. Never cut freehand. Keep the blade sharp — dull blades cause binding and kickback.
⚠️ Safety Notes
Spicy Level 3 build. Read the Safety Guide before starting.
- This is the most dangerous build in this category. Table saws cause more woodworking injuries than any other tool. A DIY version without commercial safety features (riving knife, anti-kickback pawls, flesh-sensing technology) is inherently riskier. Build and use a blade guard. Use push sticks religiously. Never reach over or behind the blade. Respect the blade at all times.
- Kickback is the primary hazard — it occurs when the workpiece pinches the blade or contacts the rising teeth at the back. The blade can launch the workpiece back at the operator at high speed. Always use a rip fence for rip cuts and keep material firmly against the fence throughout the cut.
- Wear safety glasses, hearing protection, and a dust mask. Do not wear gloves (they can catch the blade and pull your hand in), loose sleeves, or jewelry. Tie back long hair.