#072 — Pen Plotter
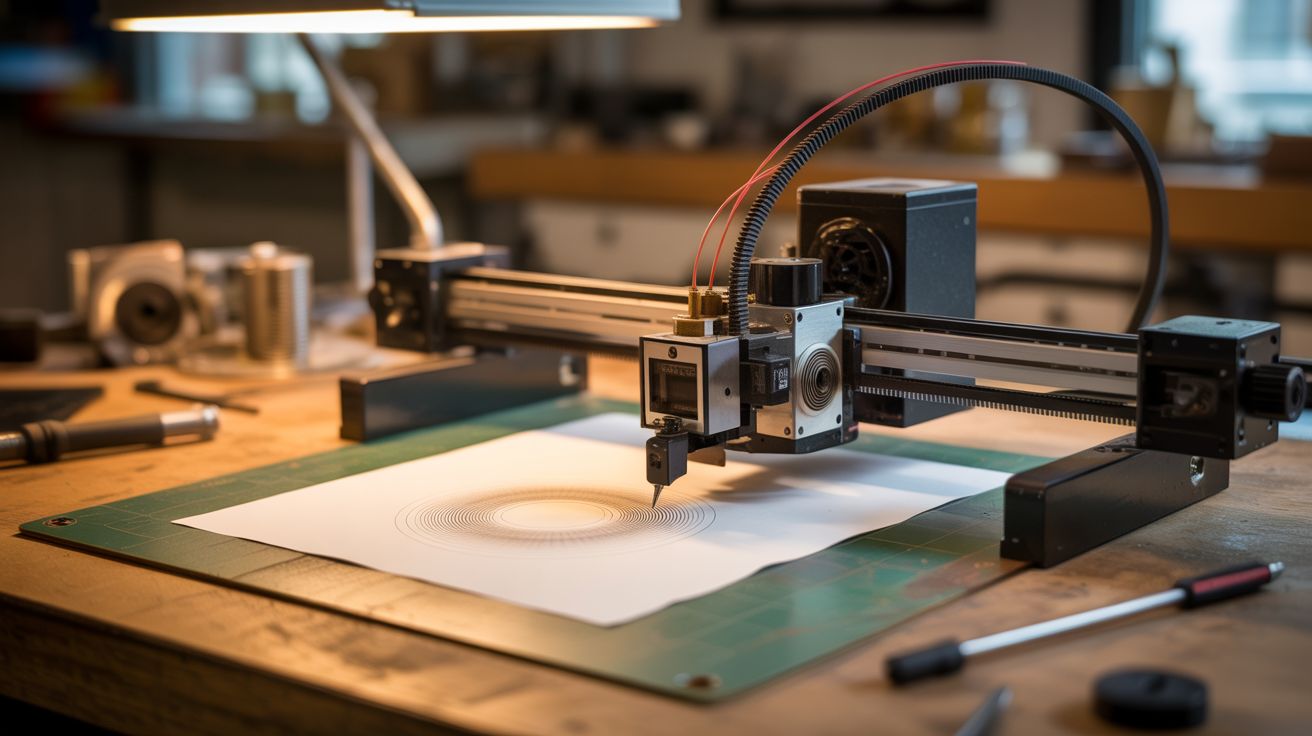
Printer steppers, timing belts, a servo, and a pen holder. Feed it SVG files and generative art. Real ink on real paper — a quality inkjets cannot match.
Ratings
🧪 What Is It?
A pen plotter is a machine that draws with actual pens on actual paper — moving a pen holder across X and Y axes under computer control. The output has a quality that inkjet printers simply cannot replicate: real ink lines with variable pressure, real pen texture, the ability to use any pen (fountain pens, brush pens, metallic markers, even paintbrushes). Feed it SVG vector files or generative art algorithms and it produces drawings that look hand-made because they literally are — just by a very precise, very patient robot. Salvage stepper motors and timing belts from dead printers, add a servo for pen up/down, and you've got a plotter that rivals $200+ commercial AxiDraw machines.
🧰 Ingredients
- 2 stepper motors (NEMA 17) — salvaged from printers (e-waste bin)
- Timing belts + pulleys — salvaged from printers (e-waste bin)
- Arduino Uno or Nano (~$5, electronics supplier)
- CNC shield or 2x A4988 stepper drivers (~$5, electronics supplier)
- Small servo motor (SG90) — for pen up/down movement (~$2, electronics supplier)
- Linear guide rods or smooth rails — salvaged from printers or buy 8mm rod (e-waste bin or ~$5)
- Linear bearings (LM8UU) — if not salvaged (~$3, electronics supplier)
- Pen holder/clamp — 3D printed, or binder clip on a bracket (workshop)
- Plywood or aluminum extrusion — for frame (hardware store)
- 12V power supply (old charger or PC PSU)
🔨 Build Steps
- Harvest components. Disassemble dead printers and extract stepper motors, timing belts, pulleys, and linear guide rods. Keep the belt-and-pulley assemblies intact where possible — they're pre-tensioned and pre-aligned.
- Design the motion system. The most common plotter design is CoreXY (both motors fixed, belts move the head diagonally) or H-bot (simpler but less precise). For a first build, a simpler cartesian design works: one motor moves the pen carriage left/right on a rail (X), another motor moves the paper platform or a gantry front/back (Y).
- Build the frame. Cut plywood or assemble aluminum extrusion into a rectangular frame. The work area should match your desired paper size — A4 (210x297mm) is a good starting target. Mount the linear guide rods parallel to each axis.
- Install the belt drive. Attach timing belt pulleys to the stepper motor shafts. Route timing belts along each axis, connecting the belt to the moving carriage. Add idler pulleys at the far end of each axis for belt return. Tension the belts firmly — loose belts cause inaccurate drawing.
- Build the pen holder. Mount a small servo motor on the X-axis carriage. Attach a pen clamp (3D printed holder, or a shaped piece of aluminum with a thumb screw) to the servo arm. The servo lifts the pen off the paper (pen up) and lowers it for drawing (pen down). The clamp should hold various pen sizes.
- Wire the electronics. Connect stepper motors to drivers on the CNC shield. Connect the servo to the spindle/Z-axis output or a dedicated servo pin on the Arduino. Power everything from the 12V supply (steppers) and Arduino 5V (servo).
- Flash firmware. Upload GRBL to the Arduino with servo support (grbl-servo fork), or use dedicated plotter firmware like Marlin configured for a pen plotter. Configure steps-per-mm for your belt pitch and pulley teeth count.
- Install plotter software. Use Inkscape with the AxiDraw/GRBL extension, or vpype + saxi for generative art. These tools convert SVG vector files into G-code optimized for plotting (minimizing pen-up travel time, sorting paths efficiently).
- Calibrate. Draw a test square and measure it. Adjust steps-per-mm until the square is perfectly square and the correct size. Test pen up/down servo positions — the pen should touch paper gently without pressing too hard.
- Create your first plot. Start with a simple SVG line drawing. Load it in your plotter software, set paper size, and hit plot. Watch the pen trace beautiful, precise lines on real paper. Then try generative art, stippling algorithms, or flow field visualizations for truly mesmerizing output.
⚠️ Safety Notes
- Timing belts under tension store energy. If a belt snaps or slips off a pulley, it can whip. Keep fingers clear of moving belts during operation and wear safety glasses for initial testing.
- Stepper motors and drivers get hot during extended plotting sessions. Ensure adequate ventilation around the electronics. Don't place flammable materials against the motor housings.