#055 — Levitating Plasma Speaker
A magnetically levitating plasma arc that plays music. An electromagnetic levitator holds a metal electrode in mid-air while a modulated high-voltage arc sings from it. Three impossible things happening at once.
Ratings
🧪 What Is It?
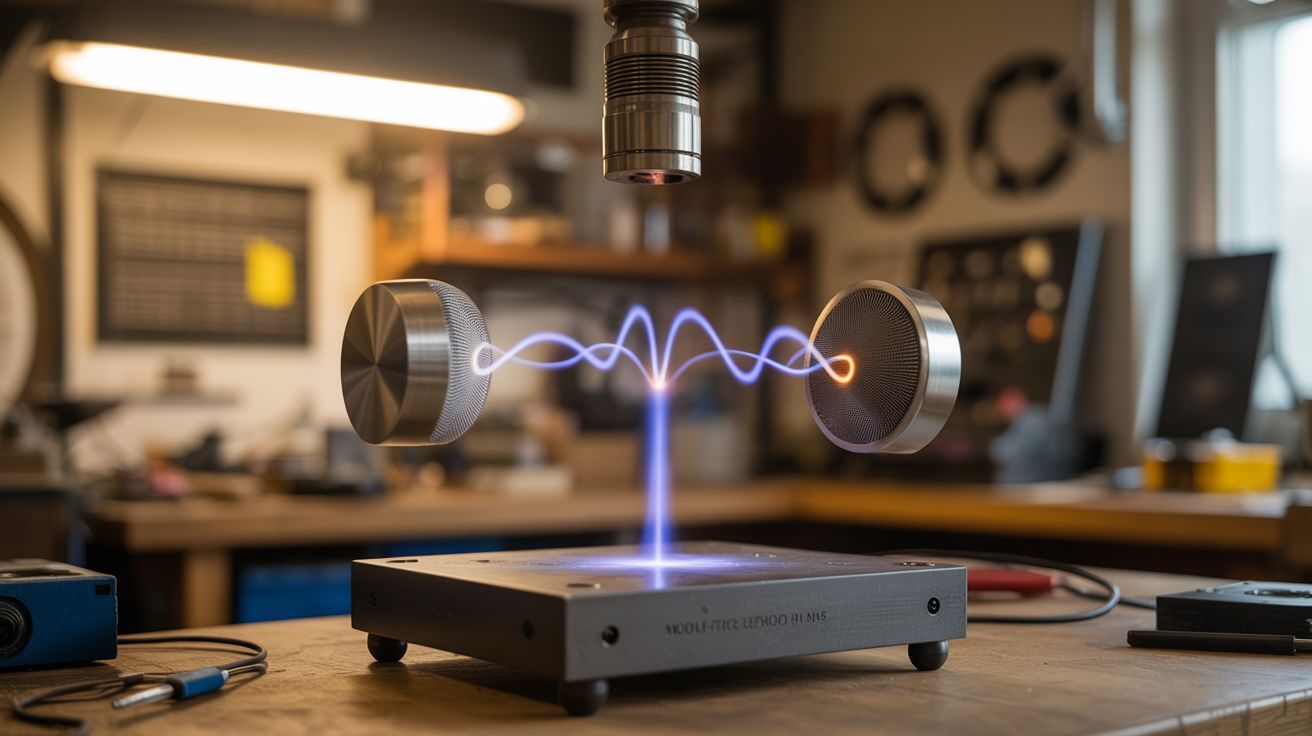
This is arguably the most impressive single object you can build in a home workshop. A small metal electrode floats in mid-air, held in place by a feedback-controlled electromagnet (build #038). From the floating electrode, a plasma arc extends to a grounded target below. The arc is driven by a flyback transformer modulated at audio frequencies (build #033). The result: a glowing arc of lightning suspended in empty space, playing recognizable music from a speaker made of pure electricity with no physical support.
Nothing touches the electrode. It hovers. The arc dances. Music plays from lightning. Three separate physics principles — electromagnetic levitation, high-voltage arc generation, and audio modulation of plasma — all working simultaneously in a single device. Each one is a challenging build on its own. Together, they form something that looks like a special effect but is entirely real.
The control systems are independent: the levitation PID loop stabilizes the electrode's position, while the audio-modulated flyback drives the arc. The trick is ensuring the electromagnetic interference from the plasma arc doesn't destabilize the levitation feedback loop. Shielding and filtering make this possible.
🧰 Ingredients
- Electromagnetic levitation system — electromagnet + Hall sensor + PID controller + MOSFET, from build #038 (see Electromagnetic Levitator)
- Musical plasma arc system — flyback transformer + audio-modulated driver, from build #033 (see Musical Tesla Coil)
- Levitated electrode — small ferromagnetic metal piece (steel or iron) with a sharp point for arc emission (machined or ground from steel rod)
- Ground electrode — metal rod or sphere, mounted below the levitated electrode (hardware store)
- High-voltage flexible wire — silicone-insulated, thin enough to not destabilize the levitation (electronics supplier)
- EMI shielding — copper foil or aluminum foil to shield the levitation sensor from the arc's electromagnetic noise (electronics supplier, kitchen)
- Separate power supplies — isolated supplies for the levitation circuit and the plasma driver (salvage, electronics supplier)
- Low-pass filter components — for the Hall sensor signal, to reject HV noise (electronics supplier)
- Frame/stand — non-conductive (acrylic or wood) to mount everything (hardware store)
- Audio source — phone with 3.5mm output (already own)
🔨 Build Steps
- Build and test the levitator independently. Get the electromagnetic levitation system working perfectly on its own first (build #038). The levitated object should float rock-steady for minutes without intervention. Any instability will be amplified when you add the plasma arc. Use a steel sphere or short cylinder as the test object.
- Build and test the plasma speaker independently. Get the musical tesla coil / plasma speaker working on its own (build #033). Verify it plays recognizable audio from the arc. The arc should be stable and controllable. Note the electromagnetic interference it produces — bring a radio near it and listen to the noise.
- Fabricate the levitated electrode. Machine or grind a small steel object (~15-20mm) that is both ferromagnetic (for levitation) and has a sharp point on the bottom (for arc emission). A steel acorn nut works — the threaded end is blunt (for the levitation magnet to attract) and the acorn end can be ground to a point (for the arc). It must be small and light enough for your levitator to hold.
- Route the high-voltage wire. The flyback's HV output needs to reach the levitated electrode. This is the hardest part. Options: (a) run a very thin, flexible HV wire from the flyback output up to the levitation magnet, then down to the electrode — the wire must be light enough not to drag the electrode out of the levitation zone. (b) Use the levitation electromagnet itself as a conductor — the electrode contacts the magnet core, and the HV is applied to the core. Option (b) requires careful insulation of the levitation circuit from the HV.
- Shield the levitation sensor. The plasma arc produces intense electromagnetic interference. Without shielding, the Hall sensor picks up the arc's noise and interprets it as position changes, causing the levitation to fail. Wrap the Hall sensor in copper foil, grounded. Add a low-pass filter (RC, cutoff ~100 Hz) to the sensor output before it reaches the PID controller. The levitation control loop needs to see only the slow position changes, not the high-frequency arc noise.
- Isolate the power supplies. The levitation circuit and the plasma driver must run from separate, isolated power supplies. A shared ground between them creates a path for HV transients to enter the levitation controller and destroy it. Use separate AC outlets or batteries. Optocouplers on any signal lines that cross between the two systems.
- First combined test. Levitate the electrode. Verify stability. Then, with the electrode floating, slowly bring up the plasma driver voltage. The arc should strike from the electrode's sharp point to the ground electrode below. The levitator will wobble — the arc exerts a small force on the electrode and the EMI hits the sensor. Adjust the PID gains and filter to compensate.
- Add audio modulation. Once the arc and levitation coexist stably, connect the audio source to the plasma driver. Play a simple tone first (sine wave). The arc should buzz at the tone's frequency while the electrode continues to levitate. Increase audio complexity — music, speech. The floating arc should play recognizable audio.
- Tune for performance. Adjust the arc gap (distance between electrode and ground target), levitation height, PID gains, EMI filtering, and audio modulation depth. The sweet spot is where the levitation is rock-solid, the arc is clear and bright, and the audio is recognizable. Finding this sweet spot takes patience. It exists. It's just narrow.
- Build an enclosure (optional). Mount the complete system in an acrylic display case. The levitating, singing arc is self-contained and can be demonstrated without explanation — viewers see a floating object with lightning coming from it that plays music. It speaks for itself.
⚠️ Safety Notes
Spicy Level 5 build. Read the Safety Guide before starting.
- This build combines the hazards of electromagnetic levitation (hot coils, strong magnets) with the hazards of high-voltage plasma (10-30kV, UV radiation, ozone). Review the safety notes for both build #033 and build #038 before attempting this combination. The hazards don't just add — they multiply, because a levitation failure drops a live HV electrode.
- If the levitation fails while the arc is active, the electrode falls and the arc follows it. This can cause the arc to strike an unintended target. Design the system so that HV cuts automatically if the levitation loop detects a drop (monitor the PID output — a sudden spike means the object left the control zone). An interlock on the HV supply tied to the levitation controller is strongly recommended.
- The high-voltage wire to the levitated electrode is a shock hazard. It must be fully insulated along its entire length, with no exposed conductors accessible to touch. Use silicone-insulated HV wire rated for the voltage involved. Keep hands completely clear when both systems are operating.