#333 — Ferrofluid Wall
Living alien liquid metal on your wall — a ferrofluid display that dances to music, reacts to motion, and makes every other piece of art in the room irrelevant.
Ratings
🧪 What Is It?
A large wall-mounted panel — 18"x24" or bigger — with a thin layer of ferrofluid sandwiched between two sheets of acrylic. Behind the panel sits a grid of electromagnets controlled by an Arduino with multiplexer boards. The electromagnets activate in programmed sequences, pulling the ferrofluid into spikes, ridges, and flowing organic shapes that morph across the surface.
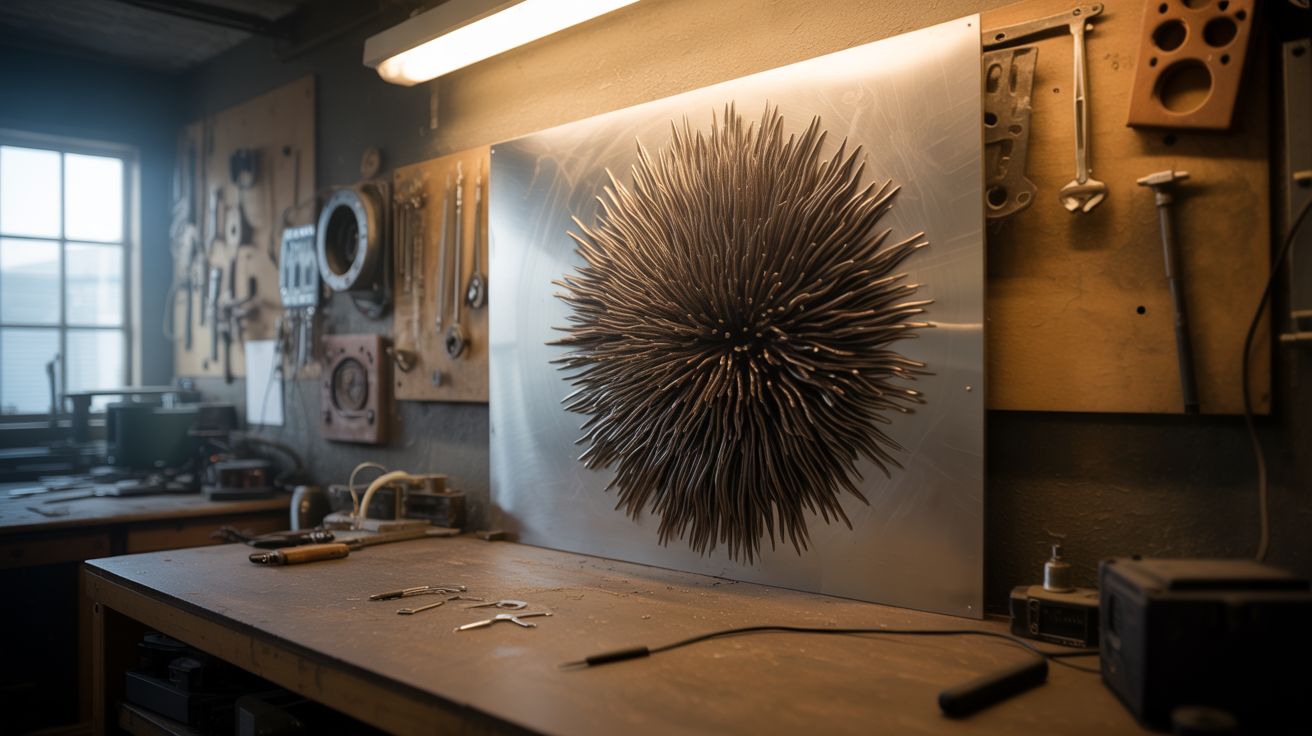
The magic happens when you add input modes. A microphone feeds audio data to the Arduino, and the ferrofluid erupts in sync with bass hits and melodies. A PIR motion sensor triggers ripple patterns when someone walks by. Pre-programmed animation loops run as ambient art when the room is quiet. The ferrofluid — jet black, impossibly glossy — forms shapes that look like nothing else on earth. It's a Venom symbiote trapped behind glass, responding to the world around it.
Commercial ferrofluid displays this size run $2,000-$5,000. This build costs under $150 if you salvage the electromagnets and wind your own coils.
🧰 Ingredients
- Ferrofluid — 100-200ml, oil-based (online supplier such as Amazon or Ferrotec, ~$25-$50)
- Clear acrylic sheets x2 — 1/4" thick, sized to your desired display area (hardware store or plastics supplier, ~$20-$30)
- Silicone gasket material or O-ring cord — for sealing the acrylic sandwich (hardware store)
- Electromagnets x16-24 — salvaged from old door locks, relays, or solenoids (source: e-waste, dead appliances — free)
- Iron bolt cores — 1/4" diameter, 2" long, if winding your own coils (hardware store)
- Magnet wire — 24-26 AWG enameled copper, ~200ft (electronics supplier, ~$8)
- Arduino Mega or Uno (electronics supplier, ~$10-$15)
- TLC5940 or PCA9685 PWM driver boards x2 — for individual coil control (electronics supplier, ~$5 each)
- MOSFET driver modules — IRLZ44N or similar, one per coil (electronics supplier, ~$0.50 each)
- 12V power supply, 10A+ — ATX PSU recommended (16 coils at 500mA each = 8A+ peak when multiple coils fire simultaneously) (source: dead PC — free)
- Electret microphone module with amplifier (electronics supplier, ~$3)
- PIR motion sensor (electronics supplier, ~$2)
- Machine screws, standoffs, and mounting hardware (hardware store)
- Wood or aluminum for the wall-mount frame (source: scrap wood, old picture frame — free)
🔨 Build Steps
-
Build the acrylic sandwich frame. Cut two matching acrylic sheets to your display size. Route or cut a shallow channel around the perimeter of one sheet for the silicone gasket. The gap between sheets should be 2-3mm — thin enough for strong magnetic response, thick enough for the fluid to flow freely. Drill bolt holes around the perimeter for clamping the sheets together.
-
Seal and fill the acrylic cell. Lay the gasket, bolt the two sheets together on three sides, and leave the top edge open. Tilt the assembly and slowly pour in ferrofluid — you want a thin layer, about 1-2mm deep when the panel is horizontal. Work slowly; ferrofluid on the wrong side of the acrylic is a permanent stain. Seal the top edge and tighten all bolts. Check for leaks by gently tilting the panel.
-
Wind or salvage the electromagnets. If using salvaged solenoids and relay coils, test each one with 12V — the core should attract a steel washer firmly from 1" away. If winding your own, wrap 150-200 turns of magnet wire around each iron bolt. Consistency matters: every coil should have the same number of turns and the same core length for uniform field strength.
-
Build the electromagnet grid. Mount the coils in a grid pattern on a flat backing board — MDF or plywood works fine. Space them evenly to cover the display area, with centers 2-3" apart depending on your coil count. The pole faces (the ends that generate the strongest field) all point forward, toward where the acrylic panel will mount. Secure with hot glue, zip ties, or brackets.
-
Wire the multiplexer and MOSFET circuit. Each coil connects to a MOSFET that switches its ground path. The Arduino drives the MOSFET gates through a PWM driver board (TLC5940 gives 16 channels of 12-bit PWM). Wire the coil positive leads to the 12V supply rail. Wire each coil's negative lead through its MOSFET to ground. Add flyback diodes across every coil — without them, the inductive kick when coils switch off will fry your MOSFETs.
-
Program the animation engine. Start with basic patterns: one coil at a time, sweeping left to right. Then build up to simultaneous multi-coil patterns — radial pulses, random spikes, wave propagation, breathing effects. PWM control lets you vary spike height per coil, creating smooth topography instead of binary on/off spikes. Store multiple animation sequences and cycle through them.
-
Add music-reactive mode. Connect the electret microphone module to an Arduino analog input. Sample audio at ~10kHz and run a simple FFT (the ArduinoFFT library works). Map low-frequency bins (bass) to large, slow coil activations in the center of the grid. Map high-frequency bins to rapid, sharp spikes at the edges. The ferrofluid becomes a 3D equalizer — bass drops trigger eruptions across the entire panel.
-
Add motion-sensor mode. Mount the PIR sensor on the frame facing outward. When it detects movement, trigger a ripple animation that expands from the nearest edge. When the room is empty, fall back to a slow ambient animation loop. This gives the display a sense of awareness — it reacts when you walk past.
-
Mount the panel to the frame. Build a shadow-box frame from wood or aluminum that holds the acrylic panel in front with the coil array behind it, separated by 5-10mm. The coils need to be close to the panel for strong coupling but not touching. Add LED strips behind or beside the panel — side-lighting makes the ferrofluid spikes cast dramatic shadows. Backlighting creates a silhouette effect.
-
Wall mount, calibrate, and tune. Hang the frame on the wall using French cleats or heavy-duty brackets — the assembly has some weight. Power up and calibrate each coil channel: adjust PWM limits so all spikes reach roughly the same height. Fine-tune animation timing so transitions look organic, not jerky. Slower crossfades between patterns always look better than instant switches.
⚠️ Safety Notes
[!WARNING] Ferrofluid stains are forever. This stuff bonds to skin, clothing, wood, drywall, and basically any porous surface permanently. Wear nitrile gloves for every step involving open ferrofluid. Cover your work surface with disposable plastic sheeting. If it gets on skin, mineral oil dissolves it slowly — water makes it spread. If it gets on clothing, that shirt is now a shop rag.
- The electromagnet array draws significant current when multiple coils fire simultaneously. Size your power supply wiring for peak load — 16 coils at 500mA each is 8A. Coils left on continuously will overheat. Use PWM to limit average current and add a thermal cutoff if you're running extended sessions.
- Mount the panel securely. A 2-foot acrylic panel full of ferrofluid falling off the wall is an extinction-level event for your carpet and everything below it.
🔗 See Also
- Ferrofluid Mirror — same fluid, smaller scale, desktop format
- Music Visualizer LED Wall — music-reactive display using LEDs instead of ferrofluid