#242 — Sound-Reactive LED Jacket
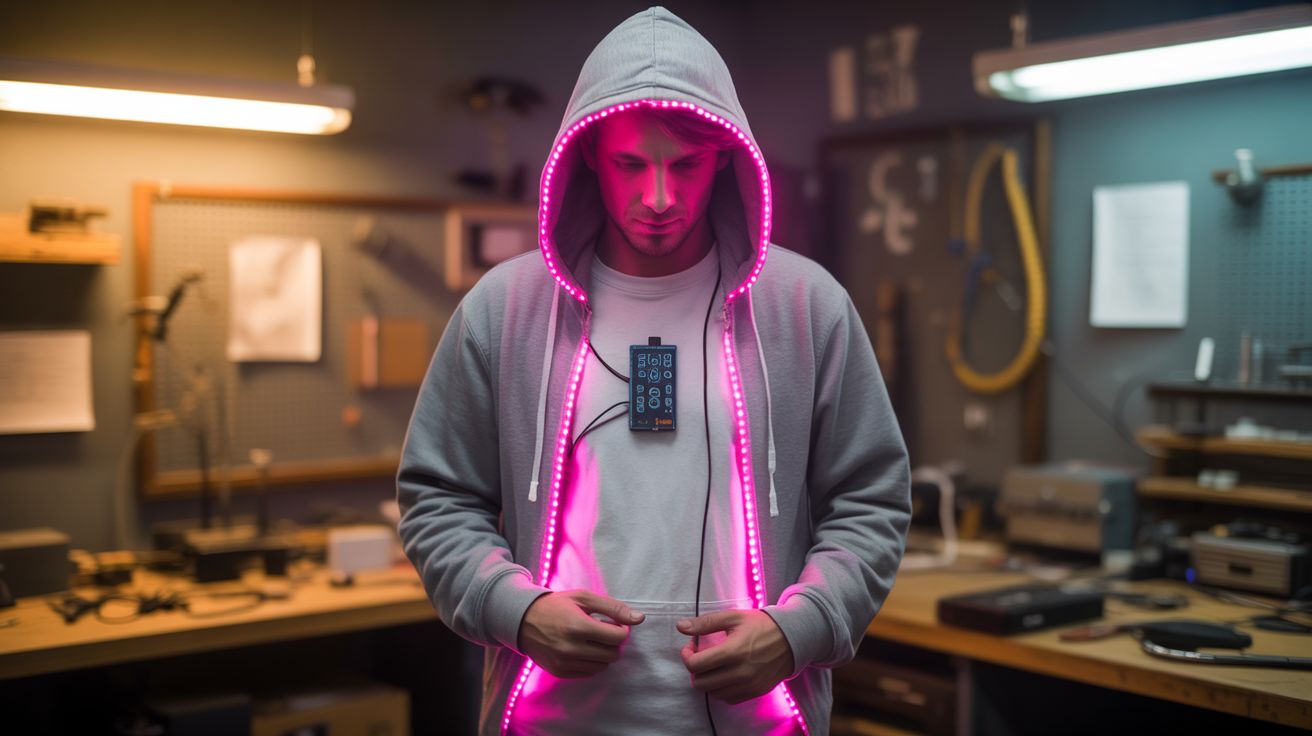
WS2812B LED strips sewn into a hoodie with an ESP32 and a microphone. The LEDs dance to whatever music is playing around you. Walking into a party wearing this is an instant power move.
Ratings
🧪 What Is It?
You know those LED jackets you see at EDM festivals that cost $200-500 from specialty retailers? Same thing, built for $30-40 from salvaged parts, and arguably better because you control the animations. The concept is simple: individually addressable LED strips (WS2812B or SK6812) sewn into the lining of a hoodie or jacket, driven by an ESP32 microcontroller that reads audio from a tiny electret microphone, runs FFT analysis to extract bass/mid/treble frequency bands, and maps the audio energy to LED color and brightness in real-time. Walk into a room and your jacket reacts to whatever music is playing — bass hits pulse the whole jacket red, vocals shimmer in purple, hi-hats sparkle white.
The WS2812B strips are the magic ingredient. Each LED on the strip has its own tiny controller chip, so you can set every single LED to a different color and brightness independently. You only need one data wire from the ESP32 to control hundreds of LEDs. The strips come with adhesive backing and are flexible enough to follow the contours of a jacket. Sew them along the seams, across the shoulders, down the arms, around the hood — wherever you want light. The ESP32 handles the audio processing with its built-in ADC and enough processing power to run FFT at 40+ frames per second. That's smooth enough that the LED response feels instant.
Battery life is the engineering challenge. A full jacket with 150+ LEDs at full brightness draws 6-8 amps at 5V — that's 30-40 watts. A phone-sized LiPo battery would last about 20 minutes. The trick is managing brightness: cap the maximum brightness at 40-50% (still blindingly bright in a dark room) and use patterns that don't light every LED simultaneously. With smart power management, a 10,000mAh USB power bank in an inner pocket gives you 3-4 hours of runtime. More than enough for a party, concert, or festival set.
🧰 Ingredients
- WS2812B LED strip — 60 LEDs/meter density, IP30 (non-waterproof for flexibility), 3-5 meters total (online, ~$8-15)
- ESP32 dev board — any variant (DevKit, NodeMCU-32S, etc.) (online, ~$5-8)
- Electret microphone module — MAX4466 or MAX9814 with auto-gain (online, ~$3)
- USB power bank — 10,000mAh or larger (existing or ~$10-15)
- Hoodie or jacket — dark colored, with an inner lining for hiding wires (existing or thrift store, ~$5)
- Silicone-coated wire — 22-24 AWG, flexible, for internal wiring (online, ~$5)
- JST connectors — for detachable strip segments (makes washing possible) (online, ~$3)
- Needle and thread — heavy-duty, for sewing strips to fabric (sewing kit, existing)
- Heat shrink tubing — for insulating solder joints (online, ~$3)
- 1000µF capacitor — across LED strip power input to prevent voltage spikes (~$1)
- 330Ω resistor — on the data line between ESP32 and first LED (~$0.10)
🔨 Build Steps
-
Plan the LED layout. Lay the jacket flat and plan where the LED strips will go. Good patterns: horizontal lines across the back (equalizer look), vertical lines down the arms, a ring around the hood, or diagonal lines radiating from the center. Mark the paths with tailor's chalk. Measure each segment and cut your LED strips to length — cut only on the marked cut lines (every 3 LEDs on most strips).
-
Wire the strip segments. Solder 22 AWG silicone wire between strip segments, leaving enough slack for body movement. Connect all segments in series on the data line (DOUT of one segment to DIN of the next). Power lines (5V and GND) should be wired in parallel from a central power bus — don't daisy-chain power through long strip runs or the far end will be dim. Add JST connectors at strategic points so you can disconnect the electronics for washing.
-
Sew the strips into the jacket. Working from the inside of the jacket, stitch the LED strips to the lining using heavy thread. Sew through the strip's silicone backing (between the LEDs, not through the circuit board). The strips should be flat against the lining with LEDs facing outward through the outer fabric. For thin jacket material, the LEDs will glow through the fabric beautifully. For thicker material, mount strips on the outside along seams.
-
Mount the ESP32. Sew a small pocket on the inside of the jacket (near the waistline or an existing interior pocket) and secure the ESP32 board inside with Velcro. Connect the data line (with 330Ω series resistor) to the first LED strip's DIN pad. Connect 5V and GND from the power bus.
-
Install the microphone. Mount the electret mic module near the collar or lapel — somewhere exposed to ambient sound but protected from wind. Wire the mic's analog output to an ADC pin on the ESP32 (GPIO 34, 35, 36, or 39 are input-only pins that work well for analog). Route the wire along a seam for a clean look.
-
Program the ESP32. Flash the ESP32 with firmware that reads the mic input, runs a Fast Fourier Transform to separate frequency bands, and maps audio energy to LED patterns. The FastLED library handles the LED control. ArduinoFFT or fix_fft handles the frequency analysis. Split the audio into 3-8 frequency bands and map each band to a different LED zone or color. Bass = red at the bottom, mids = green in the middle, treble = blue at the top. Adjust sensitivity thresholds so the jacket responds to music at typical party volume without freaking out at conversation level.
-
Power management. Add the 1000µF capacitor across the 5V power rail at the point where it enters the LED strip bus. This prevents voltage spikes during sudden high-current draws. Connect the USB power bank in the inside pocket to the 5V rail. Cap LED brightness in firmware to 40-50% (still very visible) to extend battery life. The power bank goes in a pocket with the USB cable routed to the ESP32 and LED power bus.
-
Test and tune. Power everything up in a dark room with music playing. Adjust the FFT thresholds, color mapping, and animation speed in firmware until the visual response feels musical — responsive to beats without being jittery, smooth enough to look intentional. Add multiple animation modes selectable by a button (pin on the ESP32 wired to a button in the sleeve or pocket): audio-reactive mode, solid color cycle, rainbow chase, fire effect. Each mode should be a function in code, cycled by button press.
⚠️ Safety Notes
- LED strips run at 5V, which is safe from shock. The power bank is the only energy source — no mains voltage anywhere in this build.
- Wash the jacket by hand with the electronics disconnected (via JST connectors). Never machine wash with the LED strips attached — the agitation will break solder joints.
- The microphone is always listening to ambient sound. It does not record or transmit — it only reads analog amplitude. But be aware that the LED pattern reveals the volume and frequency content of nearby sounds, which could be a privacy consideration in some settings.
- Solder joints in a garment are subject to flexing stress. Use stranded (not solid) wire, leave service loops, and reinforce joints with hot glue or heat shrink. Check connections periodically for cold joints.