#244 — Sound-Reactive LED Face Mask
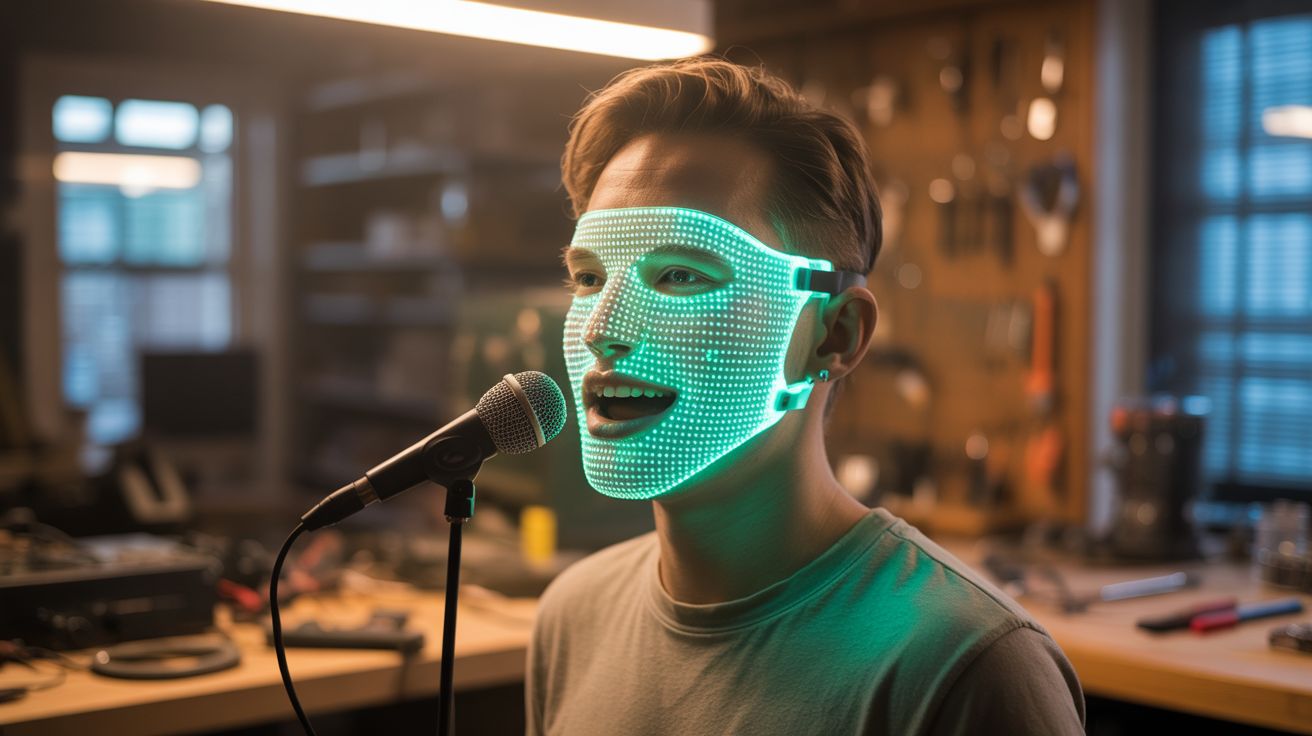
An LED matrix behind a translucent mask driven by an ESP32 and microphone. Your mouth moves when you talk, your face glows when the beat drops, and everyone at the party wants to know where you got it.
Ratings
🧪 What Is It?
You've seen those LED face masks that DJs and performers wear — a glowing face that animates, reacts to music, and makes the wearer look like they stepped out of a cyberpunk movie. The commercial ones run $50-150 and have fixed animations you can't customize. This version costs about $25 in parts, runs on an ESP32, and you program every pixel. The mask reads ambient sound through a microphone and maps audio to face animations — the mouth opens and closes with your speech, the eyes pulse with bass hits, and the whole face can run custom animations between songs.
The heart of this build is an 8x32 or 16x16 WS2812B LED matrix (or multiple 8x8 matrices tiled together) mounted behind a sheet of translucent material — white acrylic, frosted plastic, or even a plain white Halloween mask with the inside hollowed out. The translucent layer diffuses the individual LED points into smooth, glowing regions. An ESP32 drives the matrix using the FastLED library, and a MAX4466 or MAX9814 electret microphone captures ambient audio. The firmware maps audio amplitude to mouth-opening animations and frequency content to color and eye effects.
The mouth tracking is the killer feature. The microphone picks up your voice (it's literally an inch from your mouth). A simple amplitude threshold triggers a "mouth open" animation on the lower half of the LED matrix. When you stop talking, the mouth closes. The response time is fast enough — under 20ms — that it looks like the mask's mouth is moving in perfect sync with your speech. Add a few pre-programmed face expressions (angry, happy, skull, alien) selectable by a button, and you've got a wearable display that's half instrument, half performance art piece.
🧰 Ingredients
- WS2812B LED matrix — 8x32 flexible panel or 4x 8x8 matrices (online, ~$8-12)
- ESP32 dev board — for audio processing and LED control (online, ~$5-8)
- Electret microphone module — MAX4466 or MAX9814 with auto-gain (online, ~$3)
- Translucent mask blank — white plastic Halloween mask, or cut from white acrylic sheet (dollar store or craft store, ~$3)
- USB power bank — small/slim, 5000mAh (existing or ~$8)
- Elastic headband strap — to hold the mask on your face (craft store, ~$2)
- Silicone wire — 24 AWG for internal connections (online, ~$3)
- 1000µF capacitor — across LED power rail (~$1)
- 330Ω resistor — on LED data line (~$0.10)
- Momentary pushbutton — for switching animation modes (~$1)
- Hot glue gun — for mounting everything (existing)
- Black fabric or foam — for blocking light leaks around edges (craft store, ~$2)
🔨 Build Steps
-
Prepare the mask shell. Start with a white plastic mask or cut a face-shaped piece from 1/8" white acrylic. The mask needs to be translucent — light should pass through it but the LEDs behind shouldn't be individually visible. If the mask is too transparent, add a layer of white tissue paper or diffusion film on the inside. If too opaque, sand the inside with fine sandpaper to thin it.
-
Mount the LED matrix. Attach the LED matrix to the inside of the mask using hot glue or double-sided foam tape. Orient it so the pixel grid covers the face area — mouth region on the lower third, eyes on the upper third. If using multiple 8x8 matrices, tile them in a row and wire them in series (DOUT to DIN). Ensure the matrix sits flat against the mask interior for even illumination.
-
Map the face zones. In firmware, define pixel regions for each face feature: left eye (e.g., pixels 0-7 in rows 1-3), right eye (pixels 24-31 in rows 1-3), mouth (pixels 8-23 in rows 5-7), and cheeks/background (everything else). These zone definitions let you animate each feature independently. Sketch the face layout on graph paper first to plan your pixel-to-feature mapping.
-
Wire the electronics. Mount the ESP32 on the side or top of the mask using hot glue. Connect the LED matrix data line (with 330Ω resistor) to a GPIO pin. Connect the mic module's analog output to an ADC pin. Wire the mode-select button to another GPIO with internal pull-up. Connect all power through the 1000µF capacitor to the 5V USB power bank. Route the power bank cable to a pocket-sized power bank that clips to your belt or sits in a pocket.
-
Install the microphone. Mount the mic module at the bottom of the mask, near where your mouth sits. This position picks up your voice clearly while still capturing ambient music from the room. The auto-gain on the MAX4466/MAX9814 adjusts sensitivity automatically, so it works at both conversation and concert volume levels.
-
Program the face animations. Write ESP32 firmware with multiple animation modes cycled by button press. Mode 1: Audio-reactive mouth — sample the mic, when amplitude exceeds a threshold, animate the mouth pixels from closed (horizontal line) to open (oval shape) proportional to volume. Mode 2: Equalizer face — run FFT on the audio, map bass to eye color, mids to cheek brightness, treble to mouth sparkle. Mode 3: Static faces — cycle through pre-drawn expressions (smiley, skull, angry, alien) on a timer. Mode 4: Rainbow cycle — ignore audio, just look cool.
-
Block light leaks. Use black foam or fabric around the edges of the mask to prevent LED light from leaking out the sides and blinding you. The light should only exit through the front (translucent) face of the mask. Cut eye holes or leave the mask eye area dark (controlled by firmware) so you can see out. You can also use one-way mirror film on the eye regions — light comes in so you can see, but LEDs shine out for the audience.
-
Secure and wear. Attach elastic straps to the mask sides so it fits comfortably over your face. Add foam padding on the inside forehead and chin areas for comfort during extended wear. The power bank goes in your pocket with the USB cable routed up your back or under your shirt to the mask. Test in a dark room with music — adjust mic sensitivity and animation thresholds until the face feels alive and responsive.
⚠️ Safety Notes
- LED light shining directly into your eyes at close range can cause discomfort and temporary vision issues. Ensure the eye regions of the mask are either dark (no LEDs) or have light-blocking material between the LEDs and your eyes.
- The mask restricts peripheral vision and may impair depth perception. Be careful navigating stairs, uneven ground, or crowded spaces. Remove the mask when driving, cycling, or doing anything requiring full visual field.
- All voltages in this build are 5V from a USB power bank — no shock hazard. However, short circuits in the wiring could cause the power bank to overheat. Insulate all connections properly.
- Extended wear in warm environments can cause the mask to get uncomfortable as your breath condenses on the inside. Add small ventilation holes at the bottom for airflow.