#309 — DIY Spectroscope
Split light into its fingerprint with a dead DVD and a cereal box. Actual spectroscopy with trash.
Ratings
🧪 What Is It?
A spectroscope splits light into its component wavelengths — the same way a prism makes a rainbow, except with far more precision. Every light source has a unique spectral signature. An incandescent bulb produces a smooth, continuous rainbow. A fluorescent tube produces sharp bright lines at specific wavelengths (mercury emission lines). A sodium street lamp glows at exactly 589 nanometers and almost nothing else. These patterns are how astronomers identify the chemical composition of stars billions of light-years away, and you can see them with a cardboard box and a piece of optical garbage.
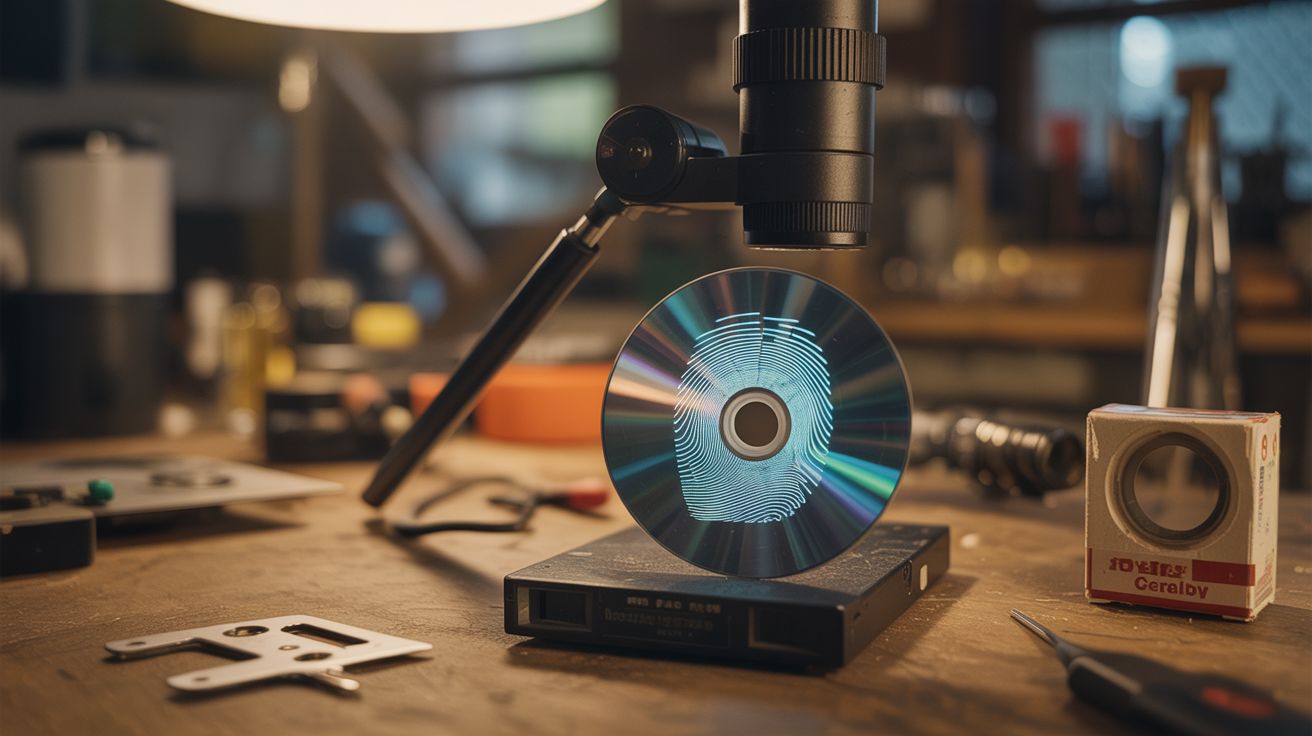
The key component is a diffraction grating — a surface covered in thousands of microscopic parallel grooves that bend light at wavelength-dependent angles. A CD has about 625 grooves per millimeter. A DVD has about 1,350. A Blu-ray has around 3,200. All of them work. The DVD hits the sweet spot for visible light spectroscopy: enough groove density for good separation, common enough to find in any junk pile. Peel off the reflective layer (or use it as-is) and you've got a lab-grade optical element for free.
Light enters through a narrow slit, hits the grating, and fans out into a spectrum. Different wavelengths bend at different angles, so you see them spatially separated. Point this at any light source and you're doing real spectroscopy — the same technique Kirchhoff and Bunsen used to discover cesium and rubidium in 1860. Except they spent months grinding prisms and you spent ten minutes with scissors and tape.
🧰 Ingredients
- DVD or CD (scratched and unplayable is fine — the data surface IS the grating) (source: junk drawer — free)
- Cardboard tube (paper towel roll or Pringles can) or small cardboard box (source: recycling bin — free)
- Razor blade or utility knife for cutting the slit (source: toolbox)
- Index card or thin cardboard for the slit assembly (source: office supplies)
- Tape — black electrical tape is ideal for light-sealing (source: hardware store — $3)
- Scissors (source: junk drawer)
- Optional: smartphone with camera for recording spectra (source: your pocket)
- Optional: black spray paint to kill internal reflections (source: hardware store — $4)
🔨 Build Steps
-
Prepare the diffraction grating. Take the DVD and separate the two layers — score the edge with a razor and pry them apart. You want the shiny, iridescent side. Cut a piece roughly 2x2 cm. If the layers won't separate cleanly, just cut a piece from the intact disc and use it as-is; it'll still work, just with slightly less brightness. CDs work too, but DVDs give tighter spectral separation.
-
Build the slit. Cut two pieces of index card about 1x3 cm each. Tape them side by side to one end of the cardboard tube, leaving a narrow gap between them — aim for about 0.5mm wide. This is the most critical dimension in the whole build. Too wide and the spectral lines blur together. Too narrow and not enough light gets in. Use the razor blade as a spacer: lay it flat between the cards, tape them down, then remove the blade. A clean, parallel slit is the difference between "blurry rainbow" and "I can see individual emission lines."
-
Mount the grating. Tape the DVD fragment over the other end of the tube. The grooves on the DVD run in circles (concentric tracks), so orient the piece so the tracks run parallel to your slit. If the slit is vertical, the grooves should be vertical too. This ensures the spectrum spreads horizontally rather than into a messy starburst pattern.
-
Seal light leaks. Wrap the tube in black electrical tape to eliminate any stray light entering from the sides. Every photon that doesn't come through the slit is noise. If using a cardboard box instead of a tube, tape all seams shut and line the interior with black paper or spray it matte black. The darker the interior, the higher your contrast.
-
First light — incandescent bulb. Point the slit at an incandescent light bulb (or a candle flame). Look through the grating end. You should see a smooth, continuous spectrum — a rainbow band stretching from deep red through orange, yellow, green, blue, to violet. This is blackbody radiation: a hot object emitting at all wavelengths. If the spectrum looks washed out, your slit is too wide. If it's too dim, your slit is too narrow or your light seal has gaps.
-
Fluorescent and CFL comparison. Now point it at a fluorescent tube or compact fluorescent lamp. Instead of a smooth rainbow, you'll see distinct bright lines — the emission spectrum of mercury vapor (strong lines at 405nm violet, 436nm blue, 546nm green, and 578nm yellow). The phosphor coating fills in some continuous spectrum between the lines, but the mercury signature is unmistakable. This is a fundamentally different kind of light than incandescent, and you can see it with your eyes.
-
LED spectrum. Point it at a white LED. You'll see something different from both incandescent and fluorescent: a sharp blue peak (the actual LED die emitting at ~450nm) and a broad yellow-green hump (the phosphor coating converting blue photons to longer wavelengths). White LEDs aren't white — they're blue light with yellow makeup. Your spectroscope just proved it.
-
Sodium and neon. If you can find a sodium street lamp (the deep orange ones), point the spectroscope at it. You'll see an intensely bright double line at 589nm and almost nothing else — the sodium D lines, the same lines Fraunhofer catalogued in sunlight in 1814. Neon signs give beautiful red-orange emission lines. Different gas fills give different spectra — every "neon" sign that isn't red is a different gas (argon, krypton, xenon, mercury with phosphors).
-
Solar spectrum (advanced). On a clear day, point the spectroscope at a bright patch of blue sky (never directly at the sun). You'll see the continuous solar spectrum with dark absorption lines — Fraunhofer lines — caused by elements in the sun's outer atmosphere absorbing specific wavelengths. The sodium D lines appear as dark gaps in exactly the same position where sodium emission lines would be bright. You're reading the chemical composition of a star 93 million miles away with a cardboard tube and a dead DVD.
-
Photograph your spectra. Hold your phone camera up to the grating end and take photos. Smartphone cameras capture spectra surprisingly well. For best results, use a long exposure app and mount the phone steadily. Build a small cardboard adapter that holds the phone against the viewing end. Label and compare your spectra — you're building a reference library of spectral signatures using actual scientific methodology.
⚠️ Safety Notes
[!WARNING] Never point the spectroscope directly at the sun. Concentrated sunlight focused through the slit can damage your retina. Use reflected skylight or sunlight bounced off a white surface instead. The blue sky works perfectly and poses no risk.
- Razor blade handling. The slit-cutting step involves precision work with a very sharp blade. Cut on a stable surface, away from your fingers. A steel ruler as a straight edge is safer than freehand.
- Broken DVD fragments. DVDs shatter into sharp-edged pieces if snapped. Score and cut them with scissors or a utility knife rather than breaking them.
🔗 See Also
- Kirlian Photography — another way to visualize invisible electromagnetic phenomena
- Lenz's Law Slow-Mo Magnet — making invisible magnetic fields tangible through their effects